How to Set Up Google Tag Manager (GTM) and Integrate It with Google Analytics 4 (GA4) and JTracking
If you’re looking for a streamlined way to manage all the tracking codes on your website without having to dive into your site’s backend each time, Google Tag Manager (GTM) is a powerful, free solution. Additionally, if you want to go beyond basic analytics, integrating JTracking with GTM can help you unlock more advanced marketing insights. Below, you’ll learn why you should consider using GTM, how to install it, and how to configure both Google Analytics 4 (GA4) and JTracking for optimal results.
1. Why Use Google Tag Manager (GTM)?
Google Tag Manager (GTM) centralizes and simplifies the deployment of tracking codes—often called “tags.” Here are some key benefits:
- One-Stop Management: Rather than manually adding new tags to your site’s HTML, you can manage them all from a single GTM container.
- Streamlined Updates: Quickly update or remove existing tags without developer assistance or risking site downtime.
- Better Organization: Set up tags, triggers, and variables in a clean, logical manner, reducing mistakes and keeping your data accurate.
Bonus: GTM also plays nicely with JTracking, making advanced data analytics and real-time insights more accessible than ever.
2. How to Install Google Tag Manager (GTM) on Your Website
Before configuring events such as GA4 conversions or JTracking custom events, connect GTM to your site.
Step 1: Create a GTM Account
1.Go to Google Tag Manager and sign in with your Google account.
2.Click Create Account in the top-right corner.
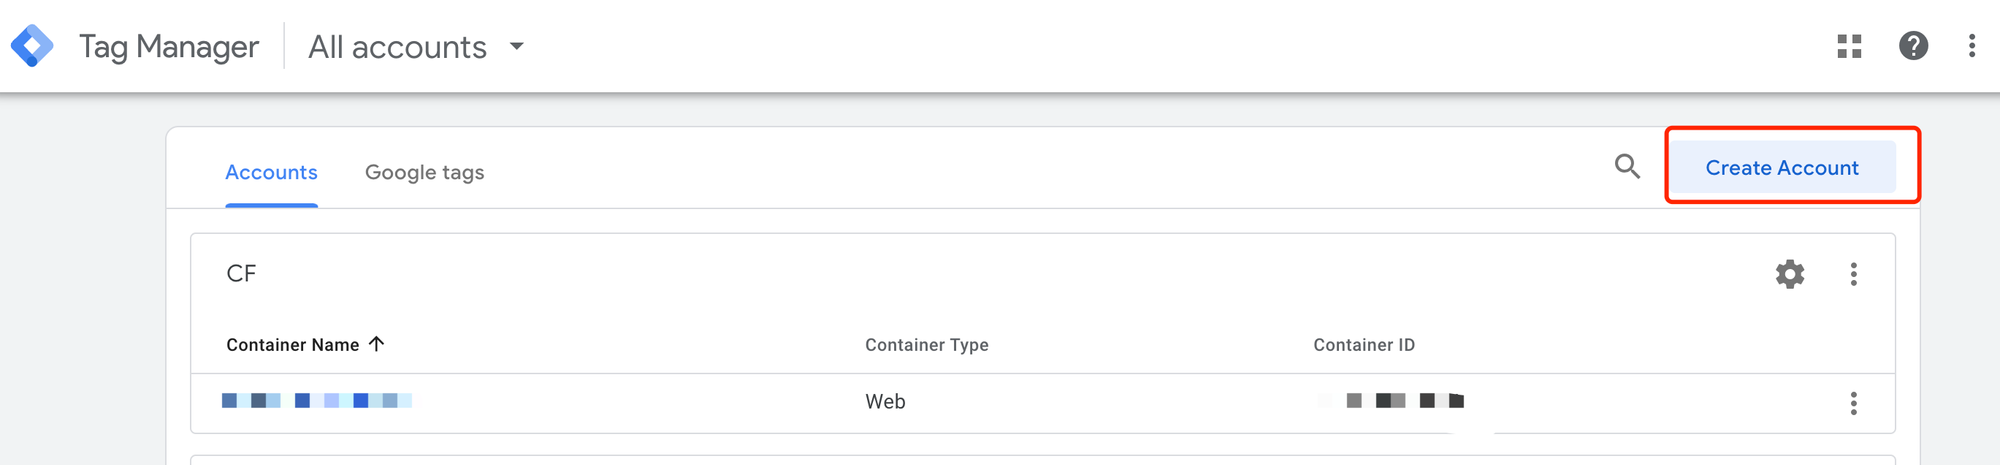
3.Provide the details (e.g., Account Name, Container Name, Target Platform), then click Create.
Step 2: Get Your GTM Code
1.Once your account is created, you’ll see two pieces of code:
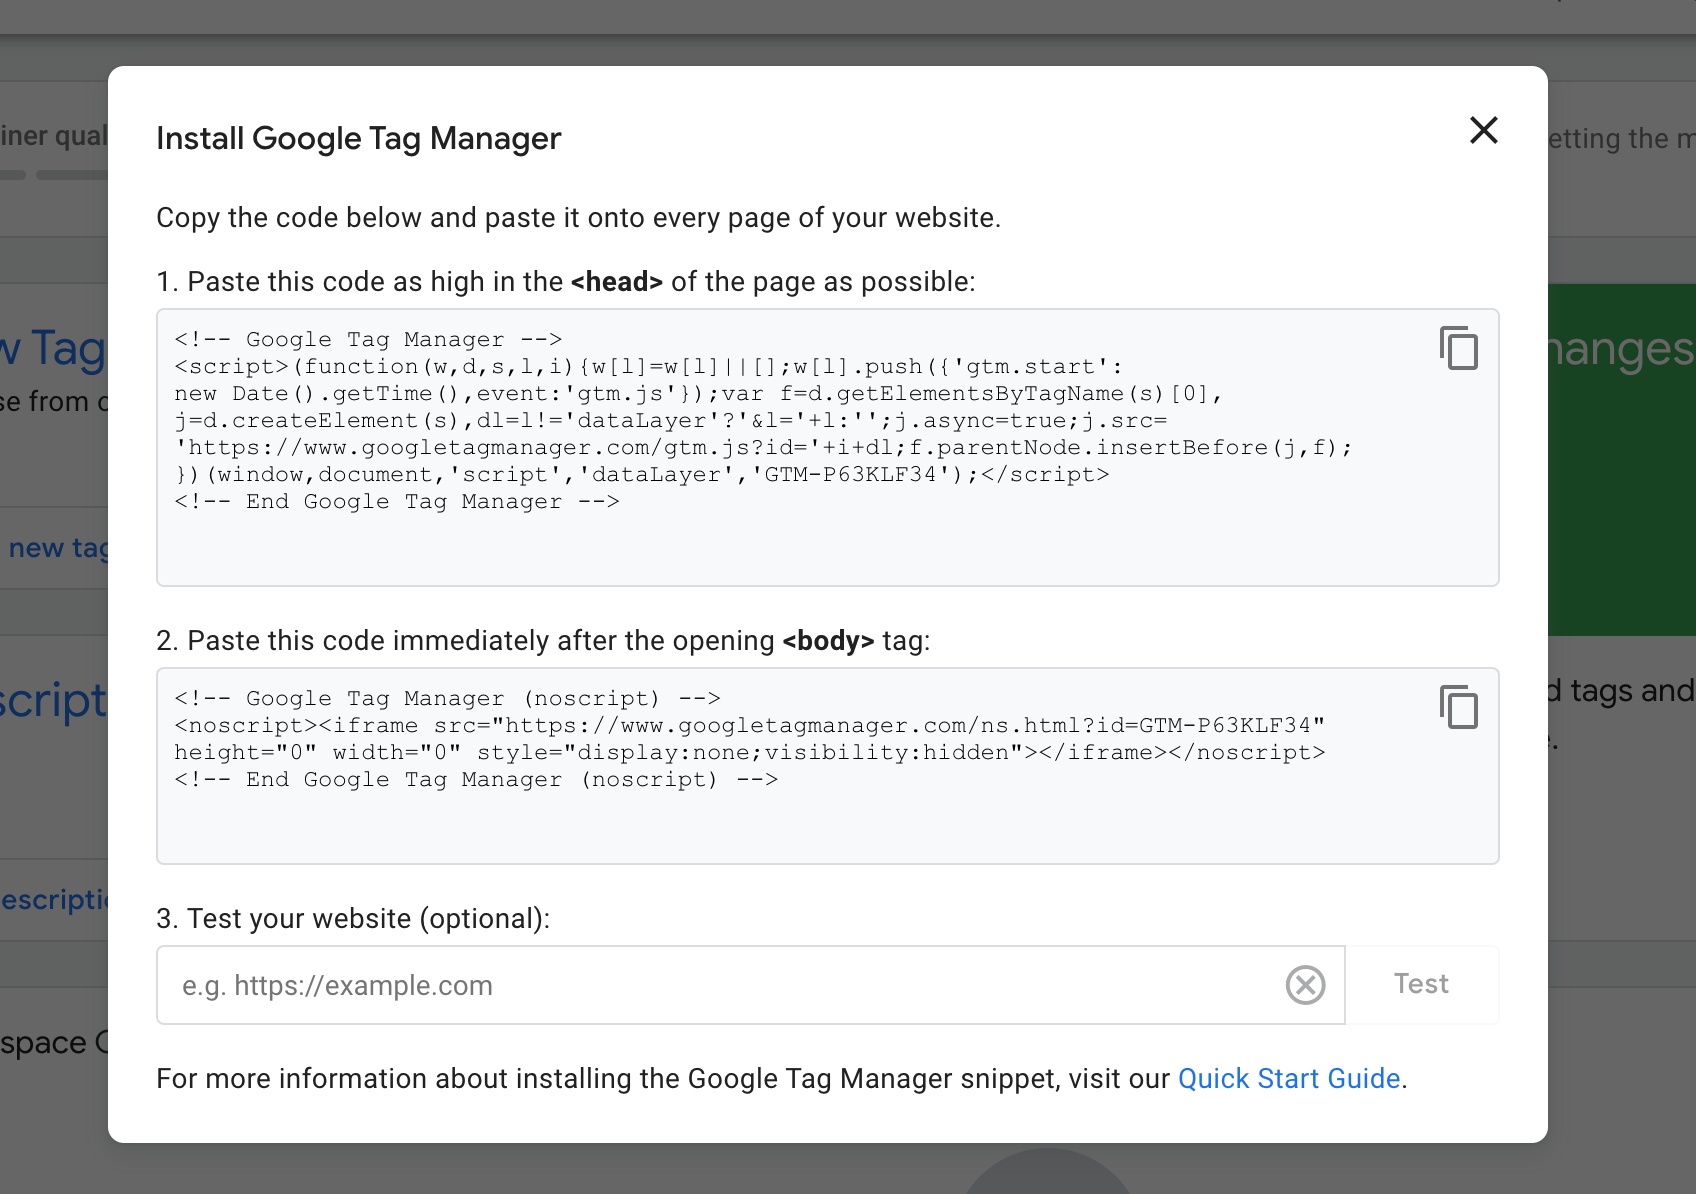
2.Copy the first snippet and paste it into the <head> section of your site’s HTML.
3.Copy the second snippet and paste it immediately after the opening <body> tag on your site.
Step 3: Test Your GTM Installation
- After adding the snippets, use the Preview mode in GTM or check your site’s source code to confirm the GTM container code is installed correctly.

When the container is placed correctly, and you’ve tested it, GTM is ready for the next step.
3. How to Configure GA4 in Google Tag Manager
Now that GTM is installed, you can integrate Google Analytics 4 (GA4).
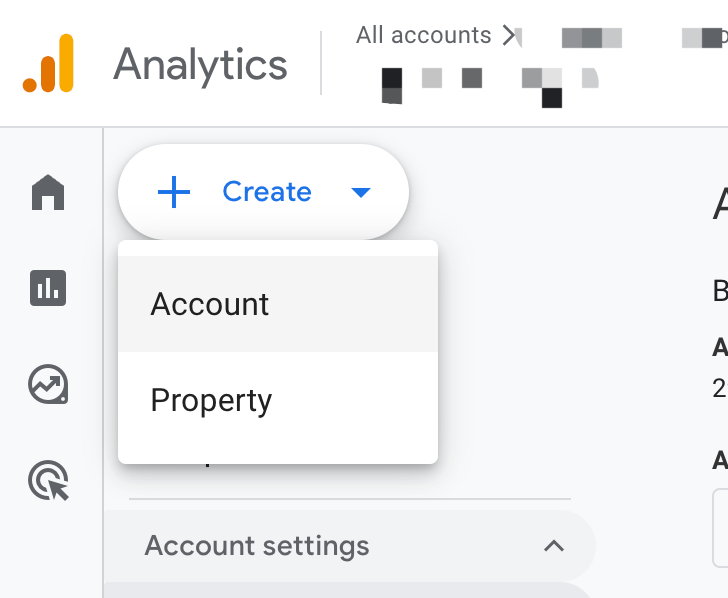
3.1 Create a GA4 Property
- Log in to Google Analytics and click Admin in the lower-left corner.
- Under Account and Property, click Create Property if you haven’t already set one up.
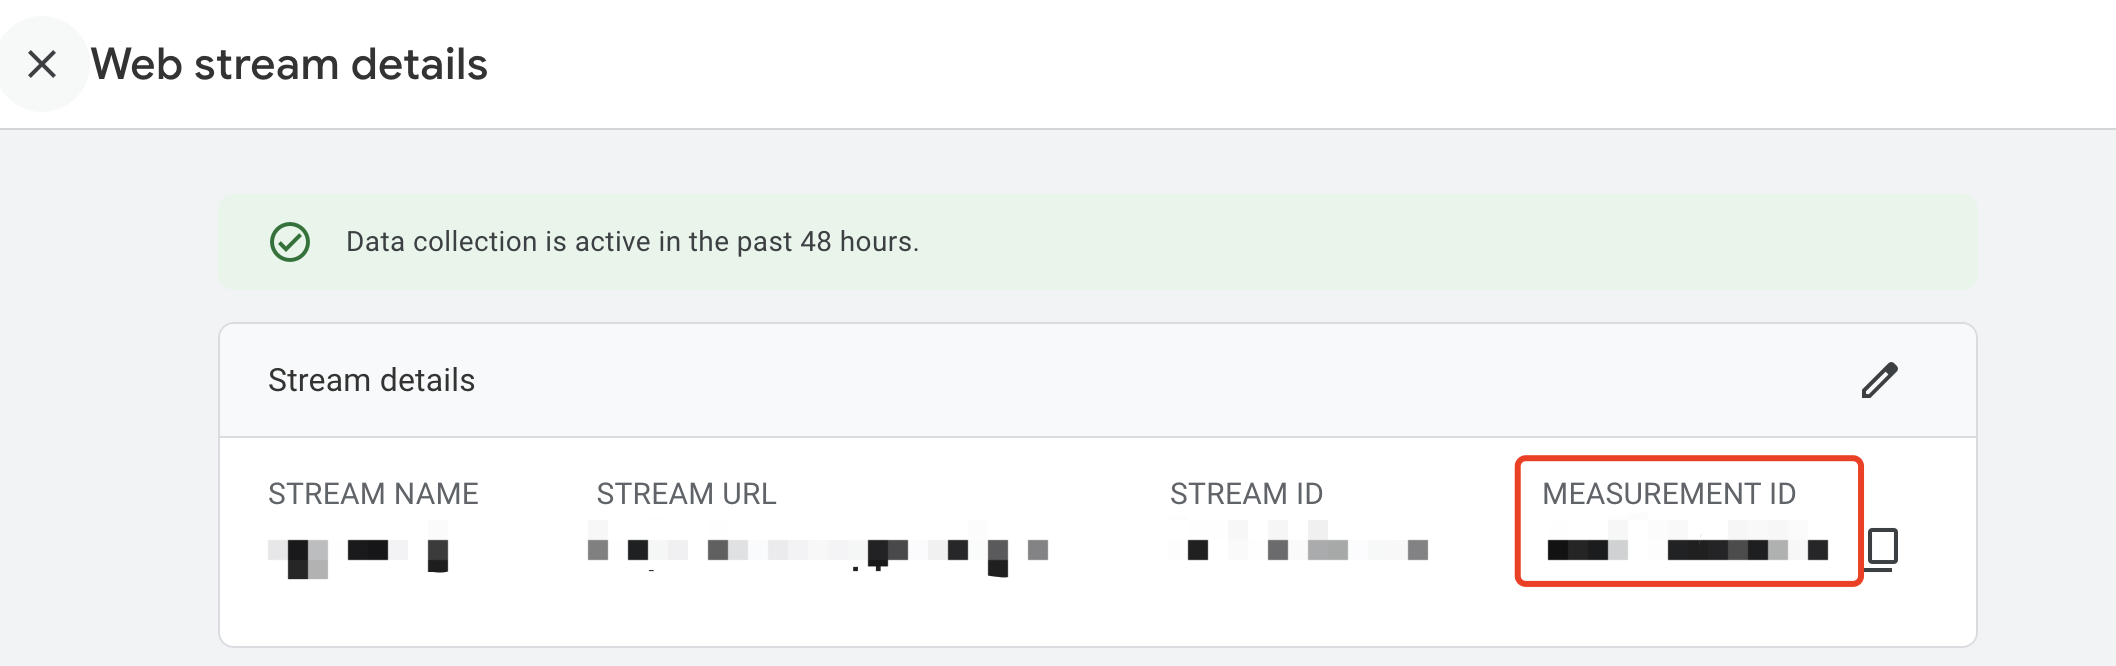
3.2 Find Your GA4 Measurement ID
- In Google Analytics, go to Admin → Data Streams .
- Select your Web Stream, and note the Measurement ID (it typically begins with
G-XXXXXXX).
3.3 Create a GA4 Tag in GTM
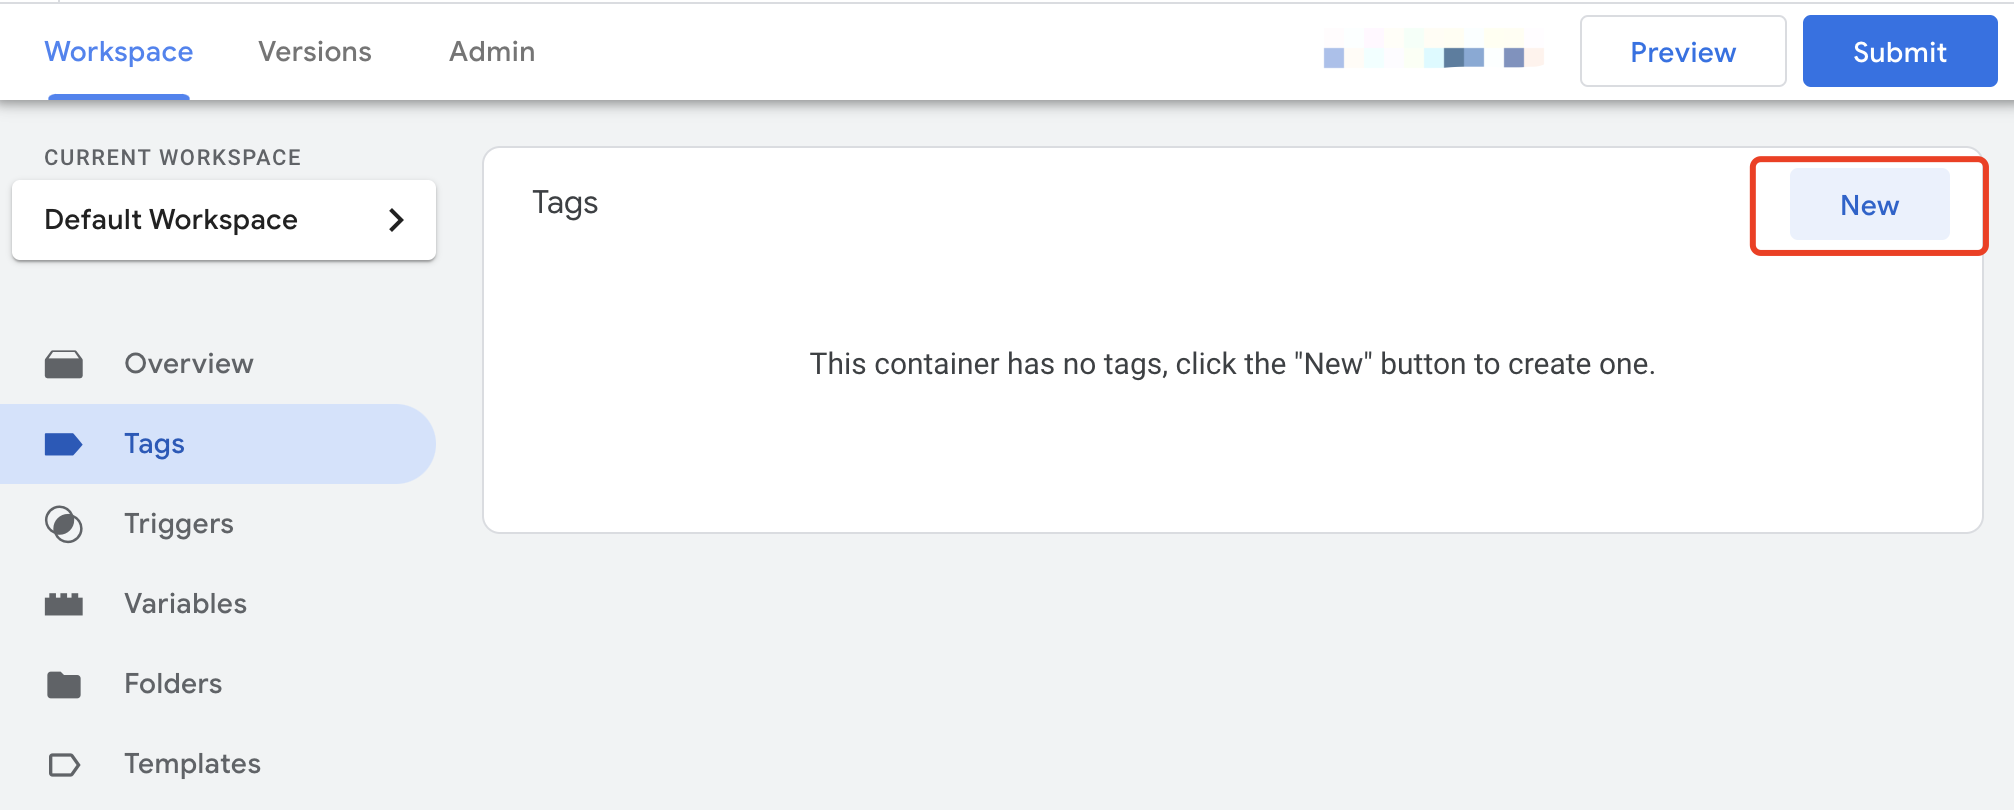
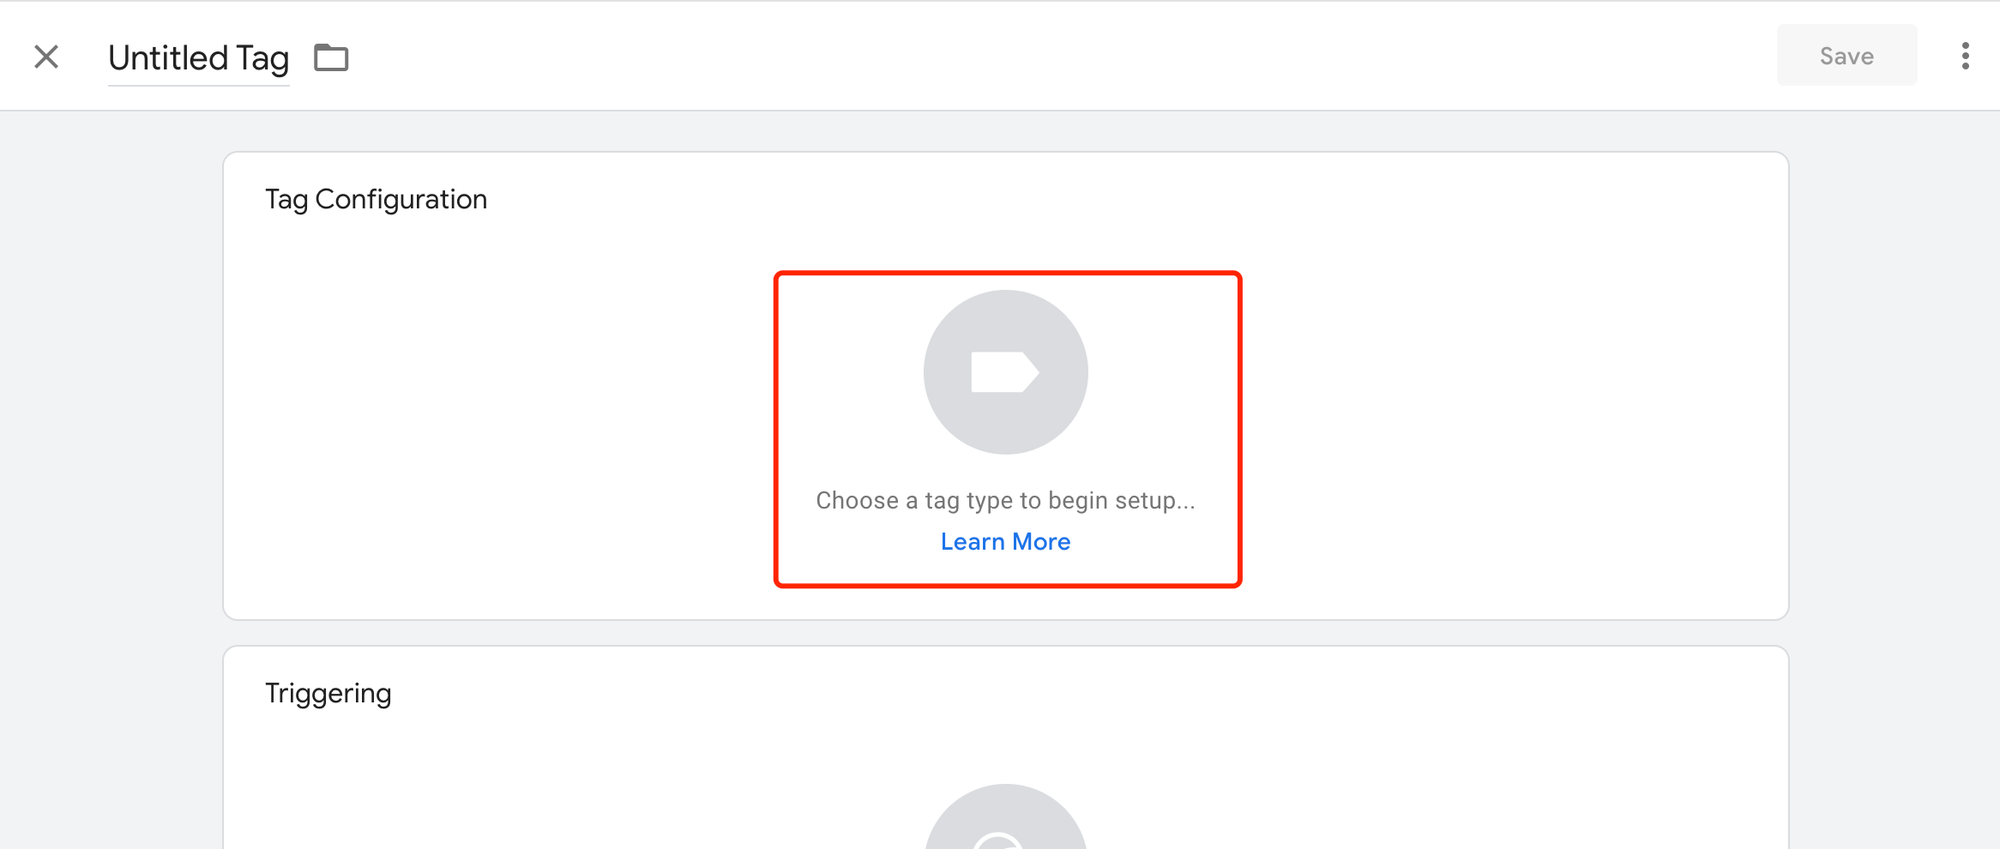
1.Go to your GTM dashboard and click Tags → New.
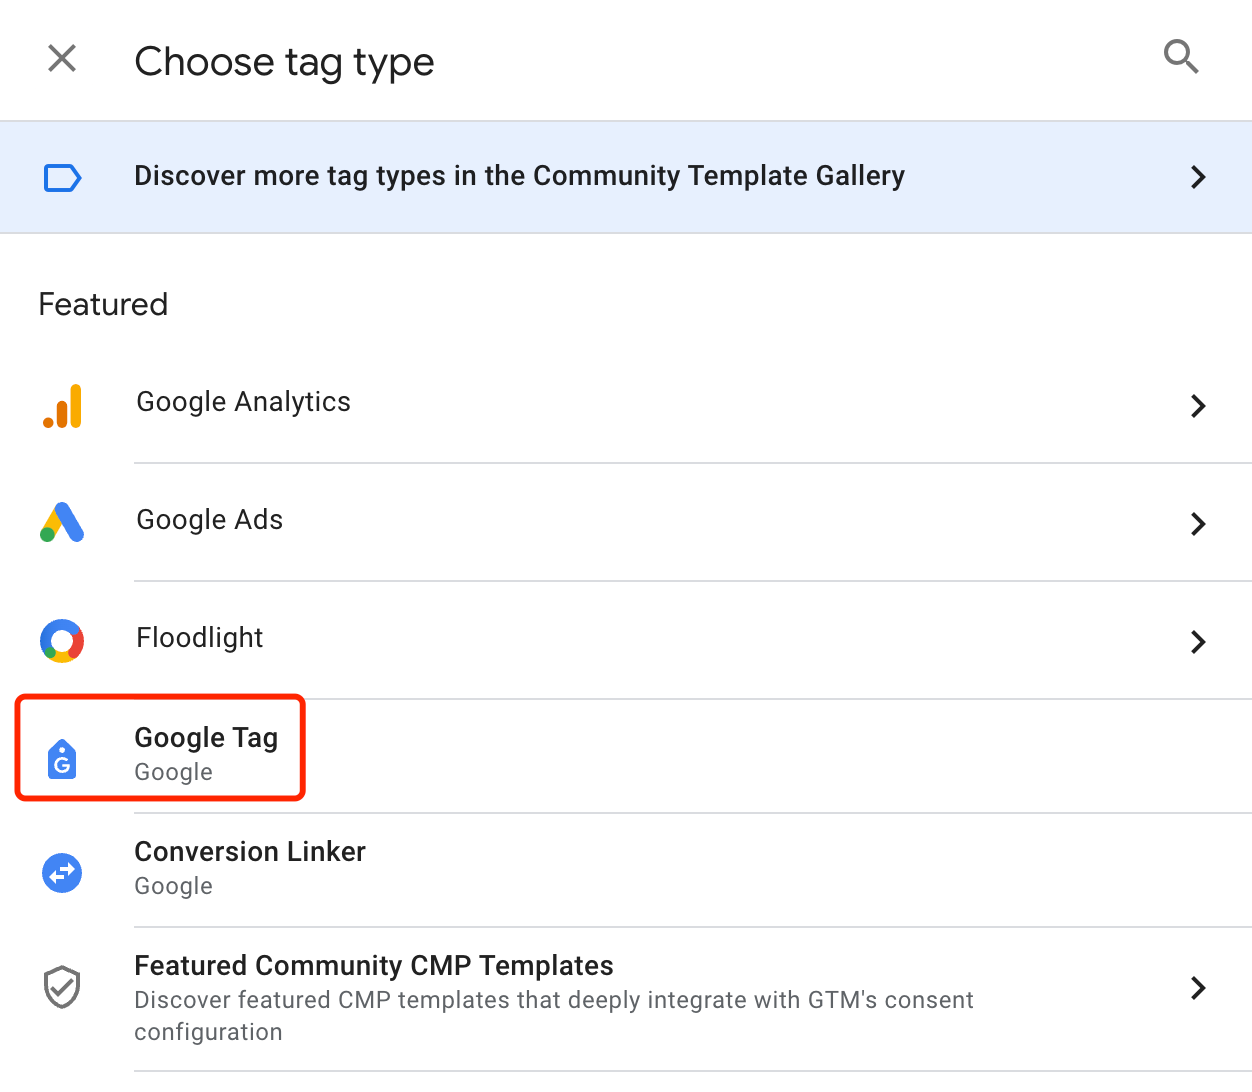
2.Choose the Google Analytics: GA4 Configuration tag type.
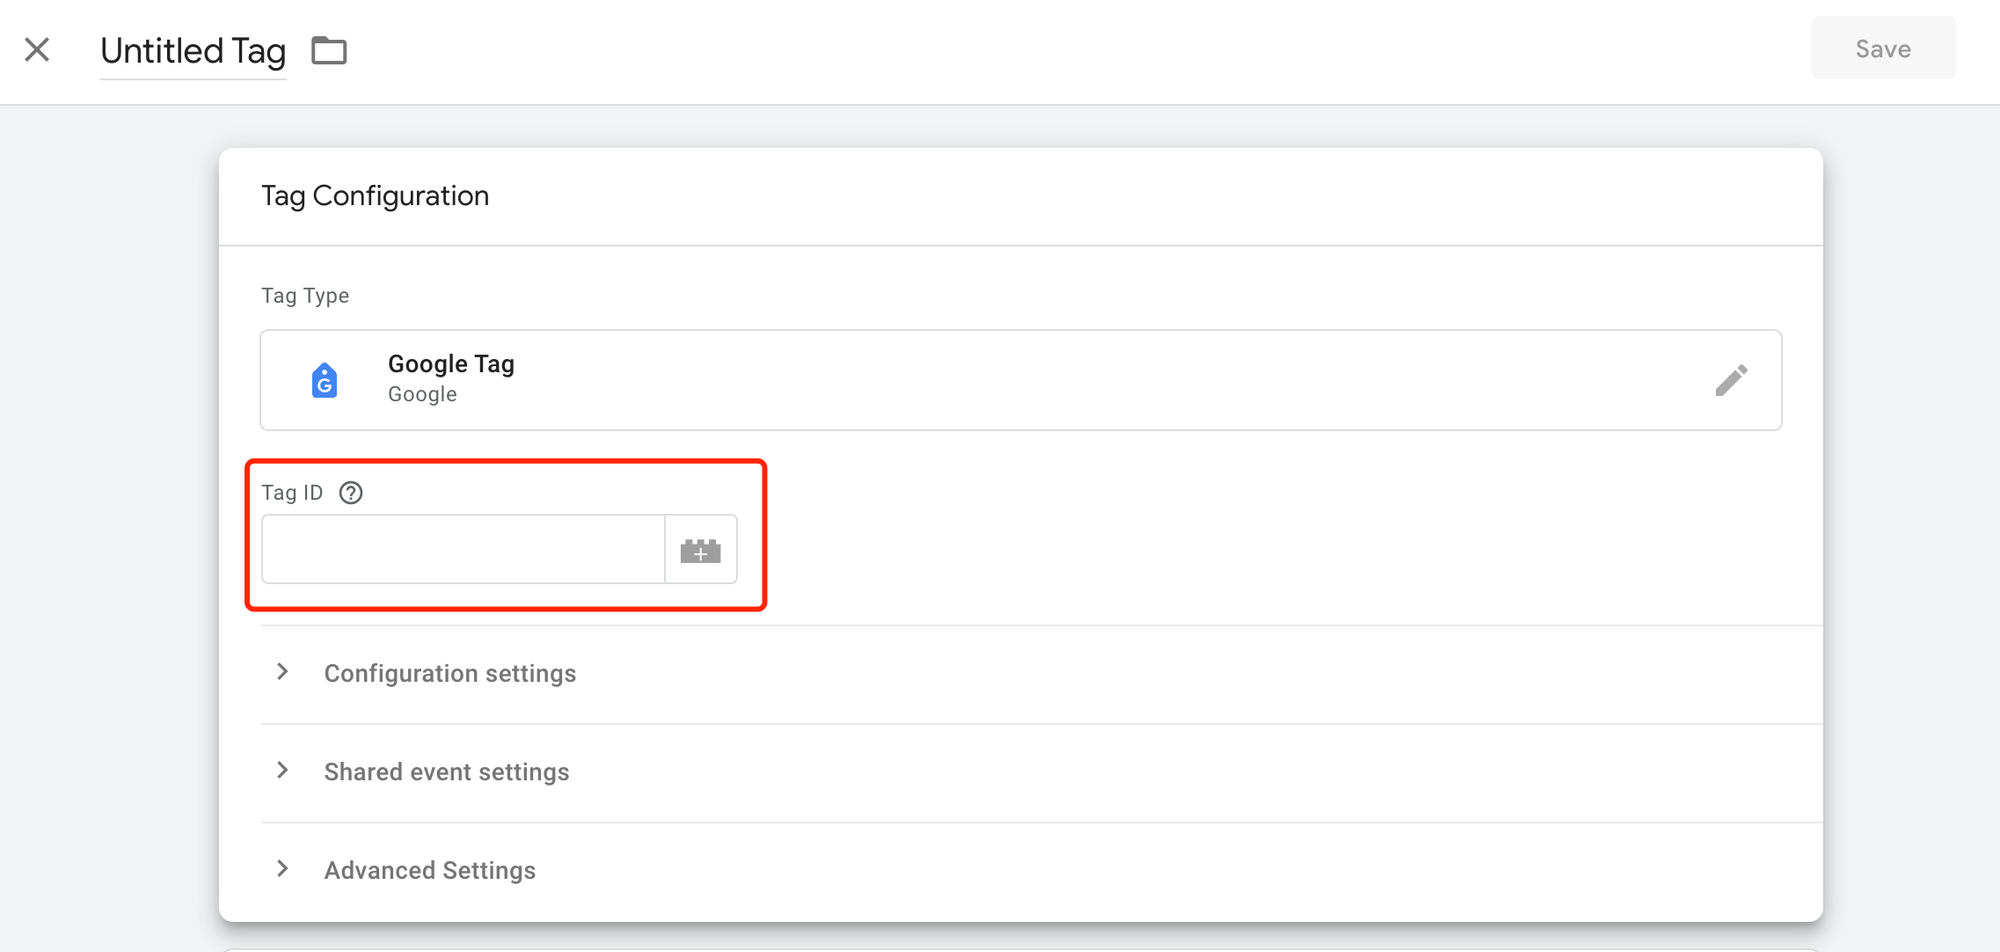
3.Paste your Measurement ID into the “Measurement ID” field.
4.Configure the Triggering to “All Pages” (or your preferred pages).
5.Click Save.
3.4 Test Your GA4 Tag
1.In GTM, click Preview.
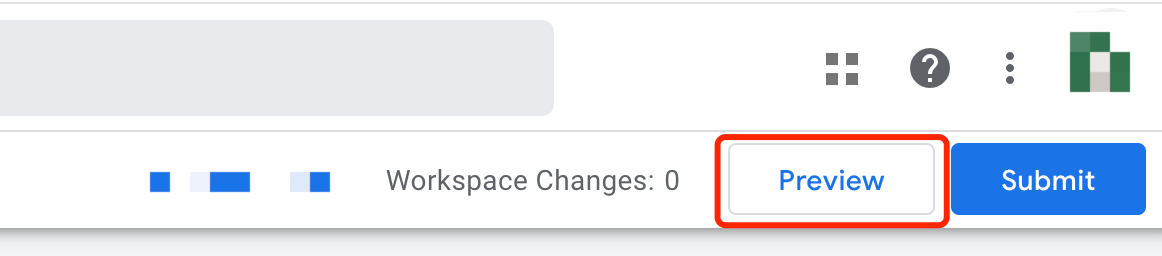
2.Enter the URL of the site where you’ve installed the GTM container and click Connect.
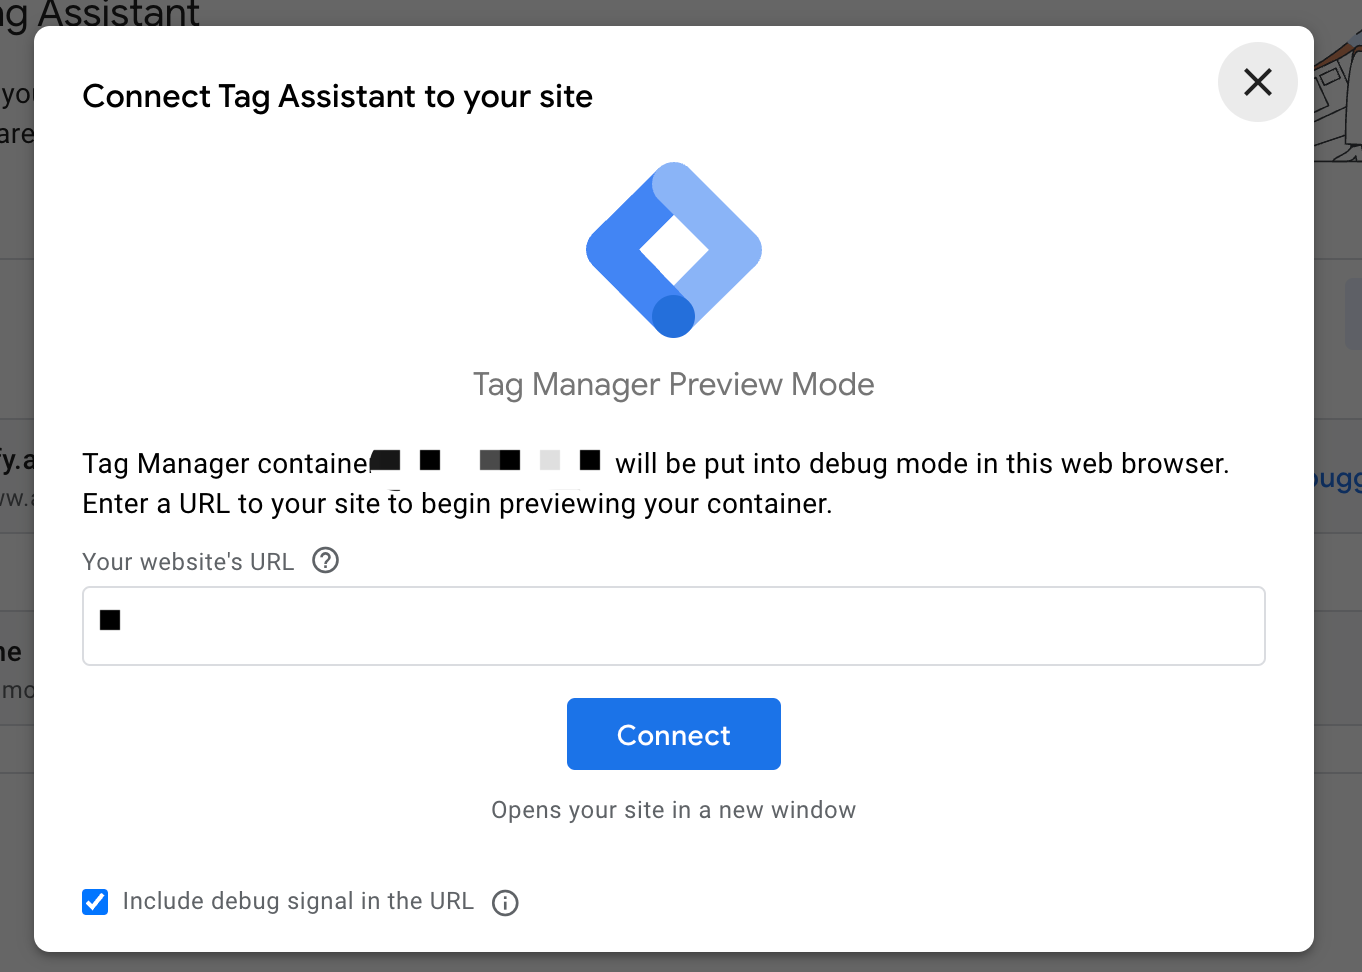
3.Look for Tag Assistant Connected in the bottom-right corner of your site.
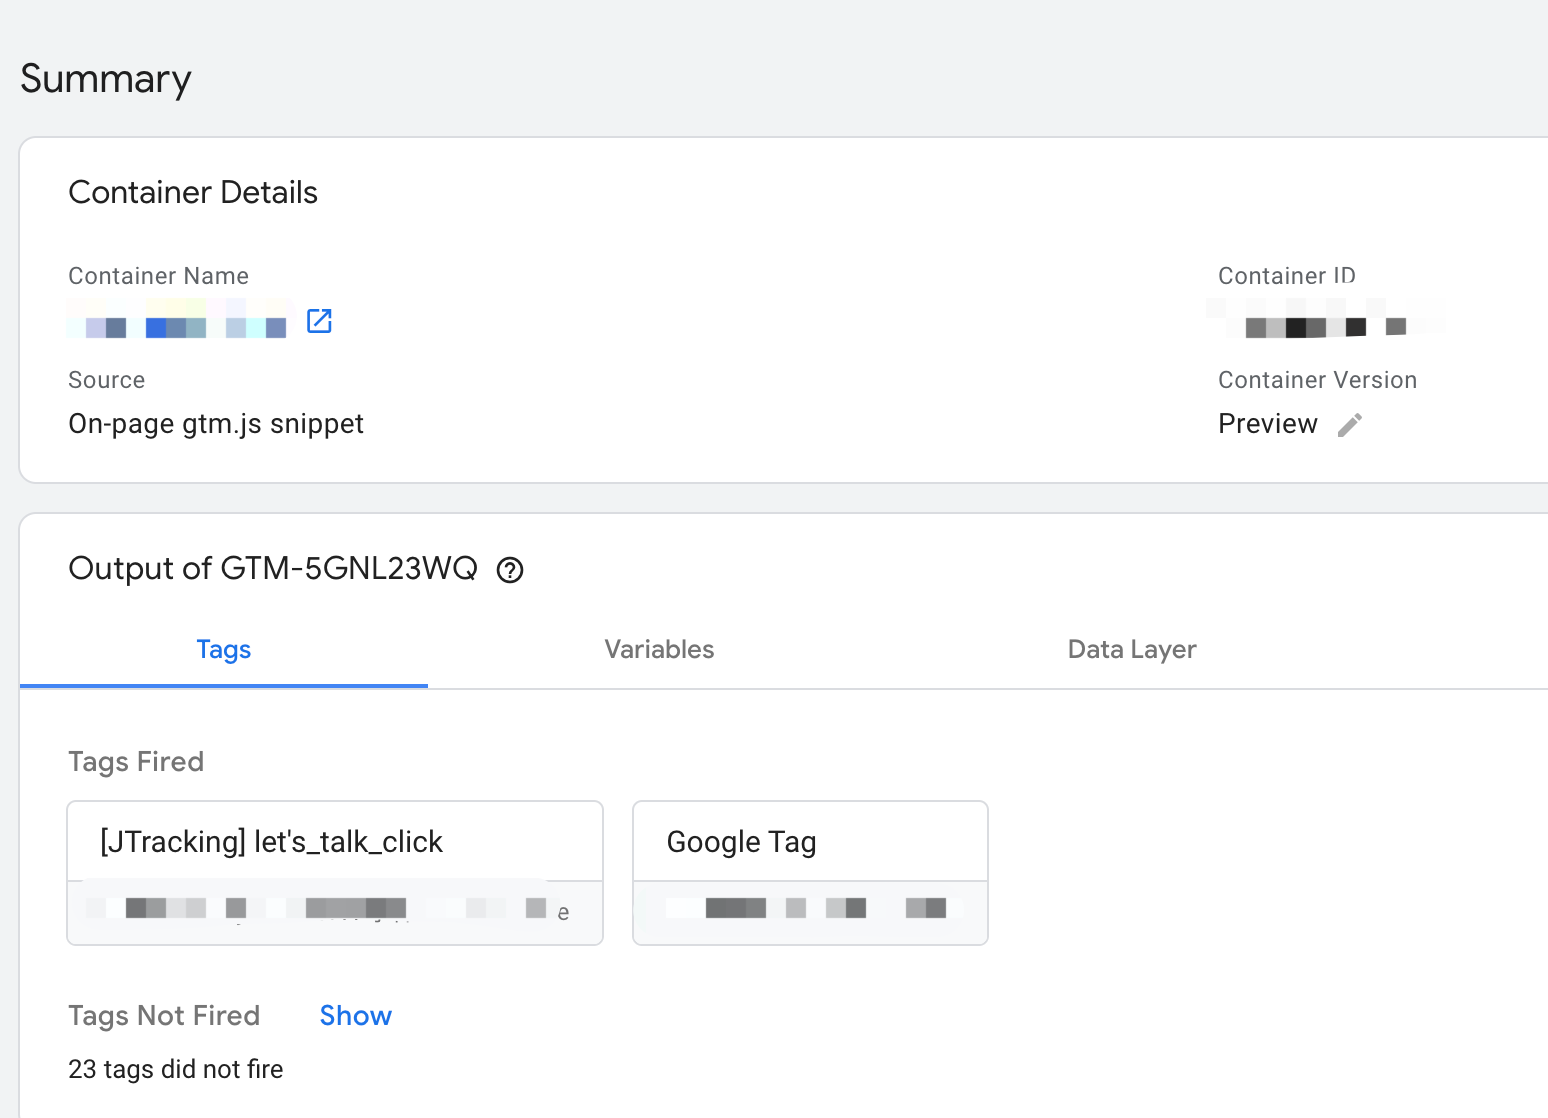
4.Within the Tag Assistant, check if your GA4 tag fired under “Initialization” or “Tags Fired.”
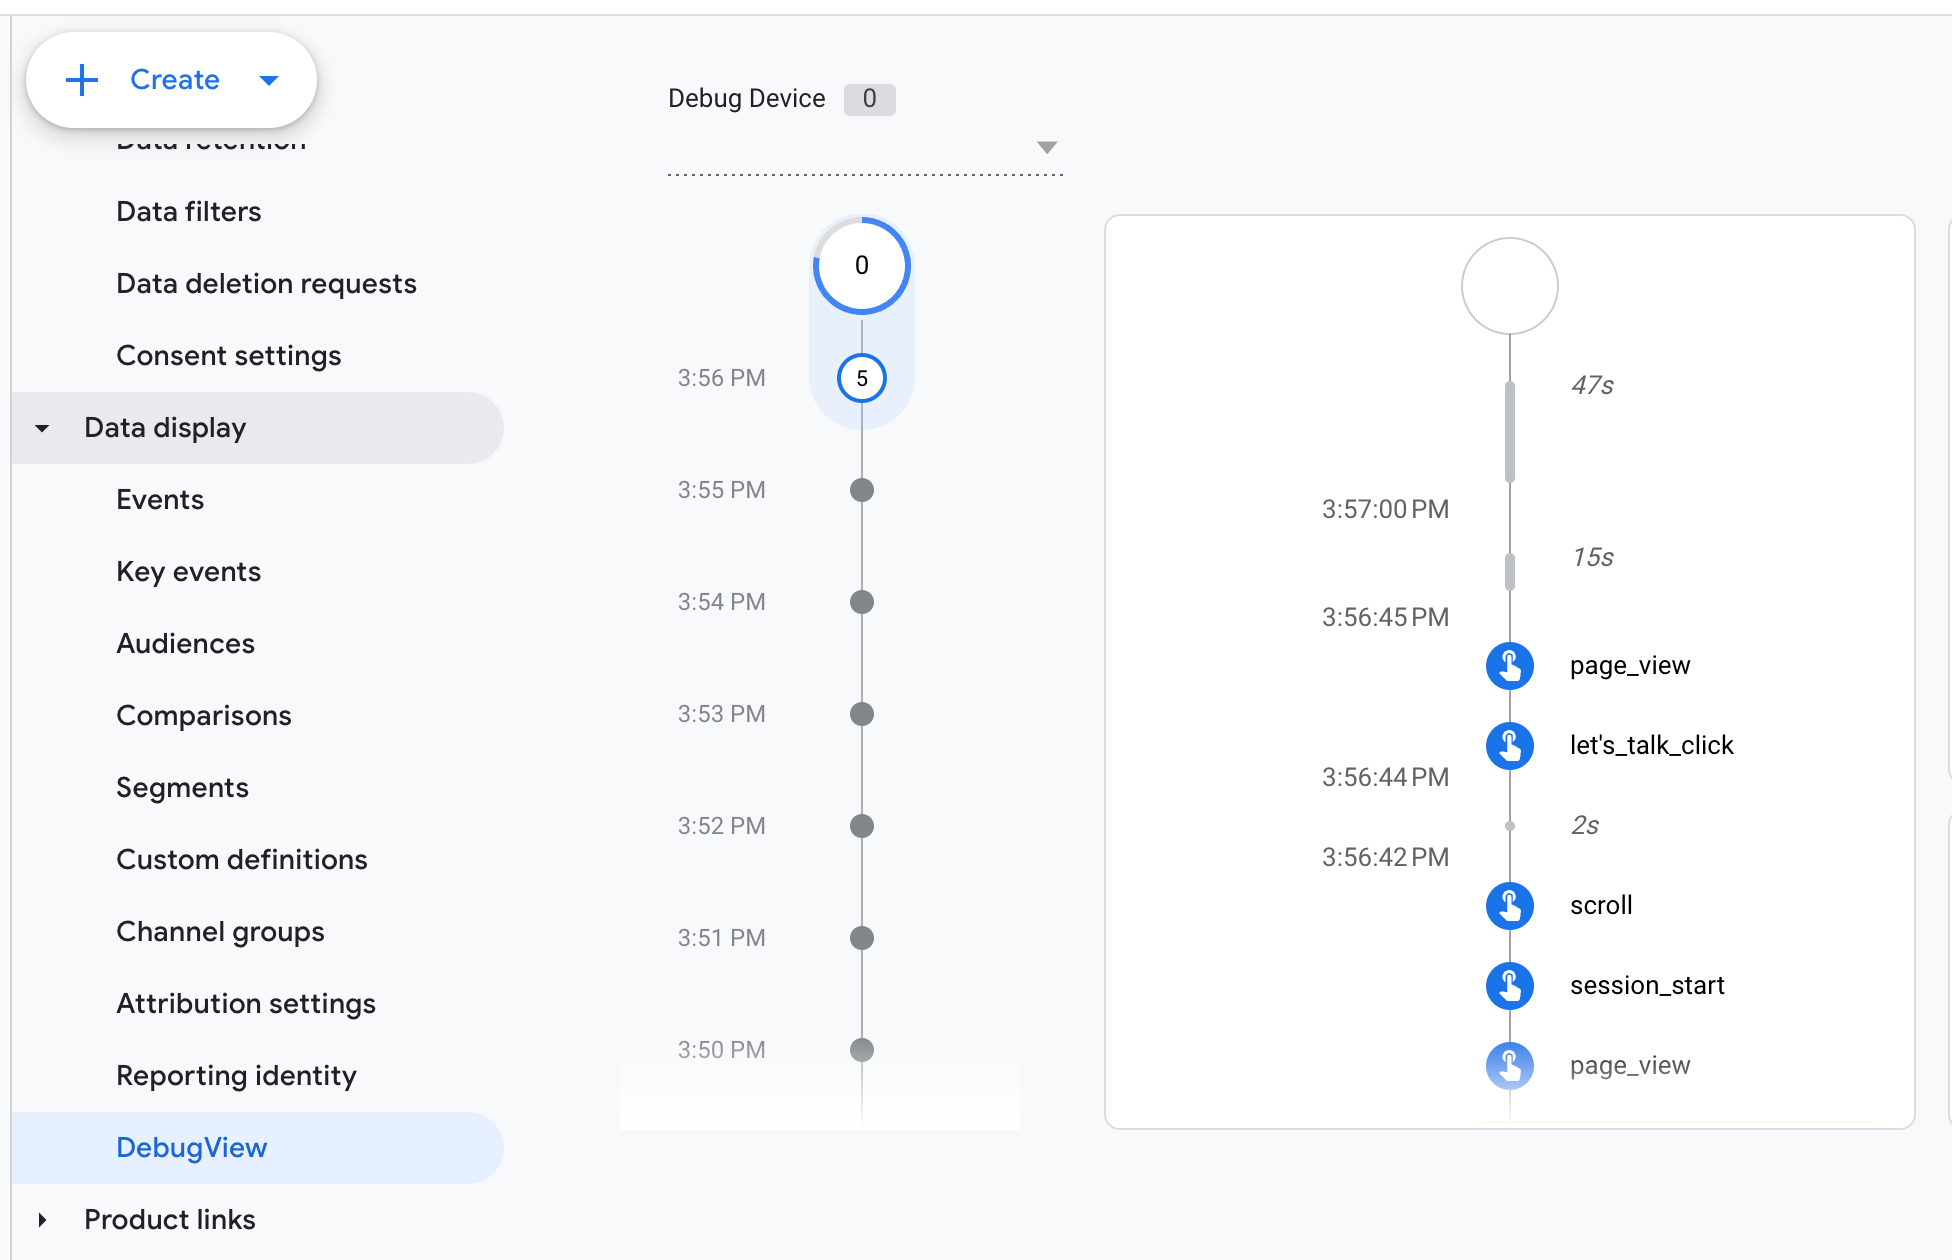
5.In Google Analytics → Admin → DebugView, confirm real-time events are appearing.
4. Publish Your GTM Container
Once you confirm everything is working correctly in Preview mode, return to GTM and click Submit. Add a version name or description, then click Publish. This final step ensures your updated container—including your GA4 tags—goes live on your website.
Final Thoughts
Google Tag Manager is the backbone of a modern, flexible analytics setup. Pairing it with Google Analytics 4 gives you deeper insights into user behavior, conversion funnels, and more. Meanwhile, integrating JTracking offers advanced tracking and real-time data visualization, helping you make faster, data-driven decisions.
Implementing GTM, GA4, and JTracking might seem technical, but by following these steps, you can deploy, test, and manage tags more effectively—without constantly tinkering with your site’s code. Once everything is in place, you’ll benefit from faster deployment times and richer data insights, allowing you to focus on what matters most: growing your business.
If you found this guide helpful, feel free to share it with anyone looking to improve their analytics stack. For more advanced tracking—such as event tracking, e-commerce metrics, or custom conversion funnels—explore additional GTM features like Custom Events, Data Layer variables, and the full power of JTracking.