JTracking Product Guide
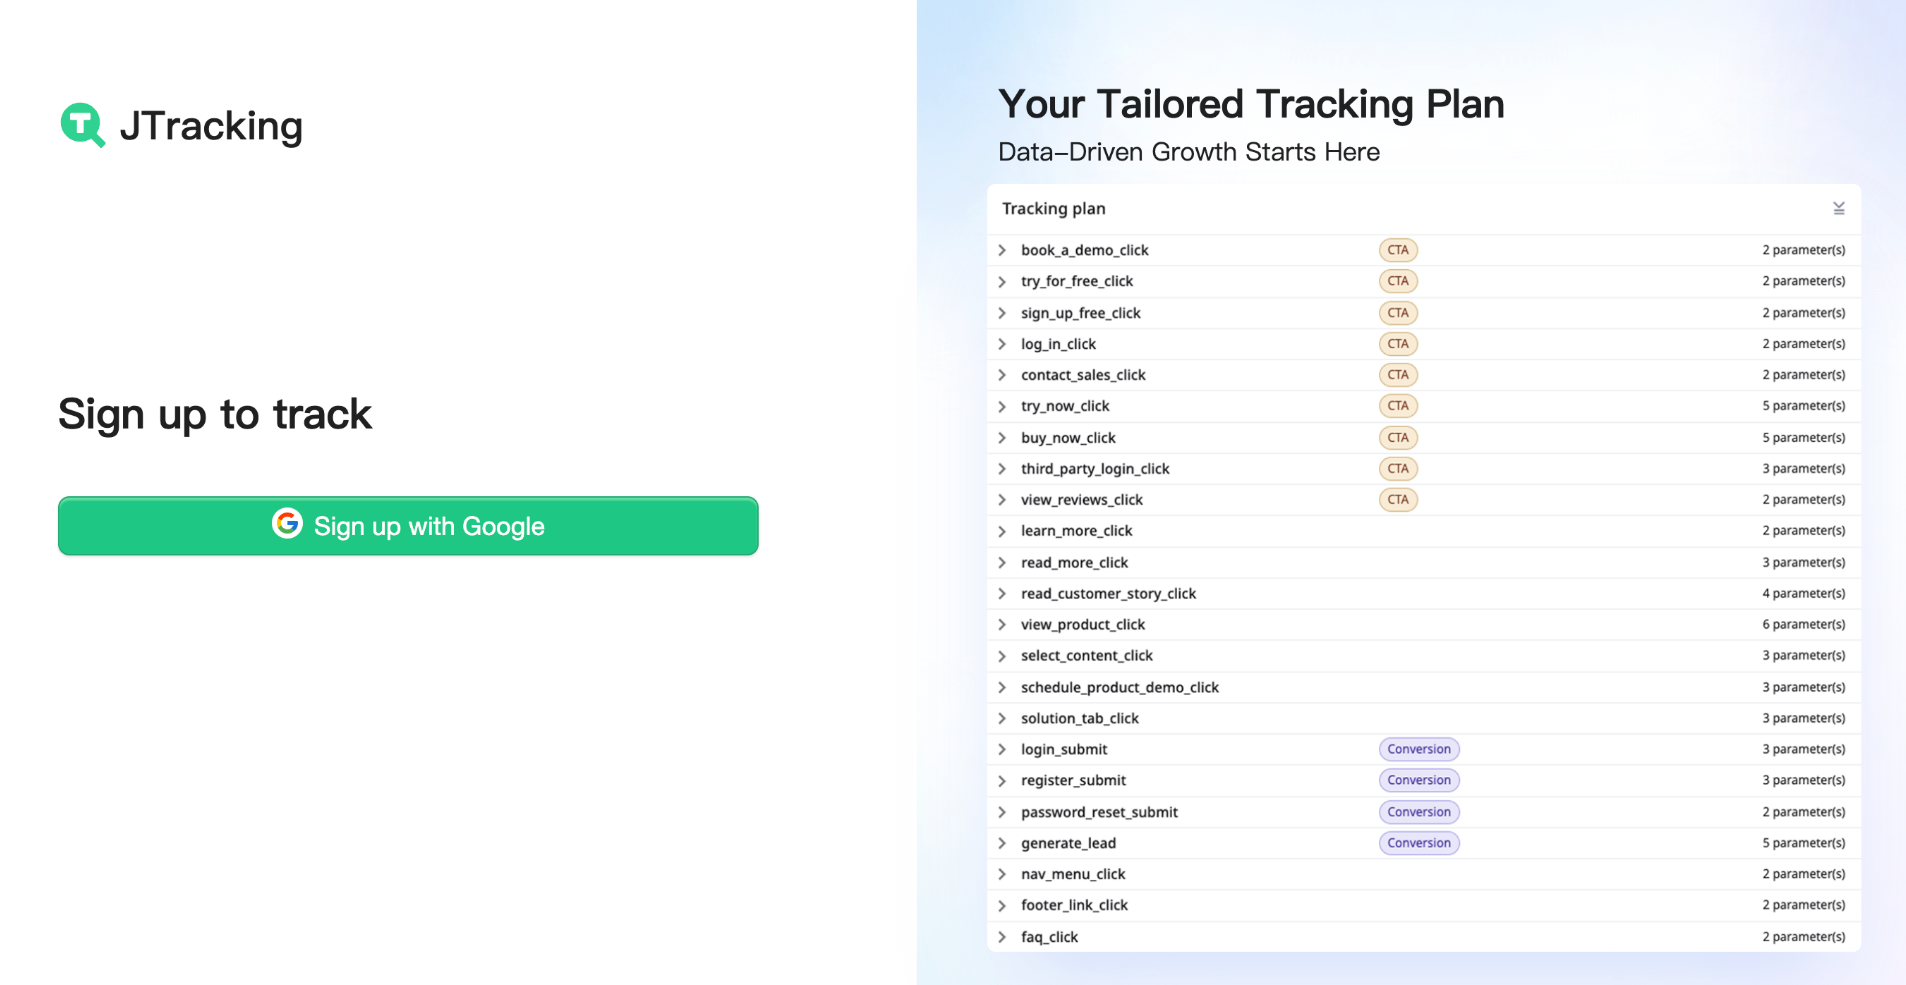
1. Login
Sign in with your Google account to access JTracking.
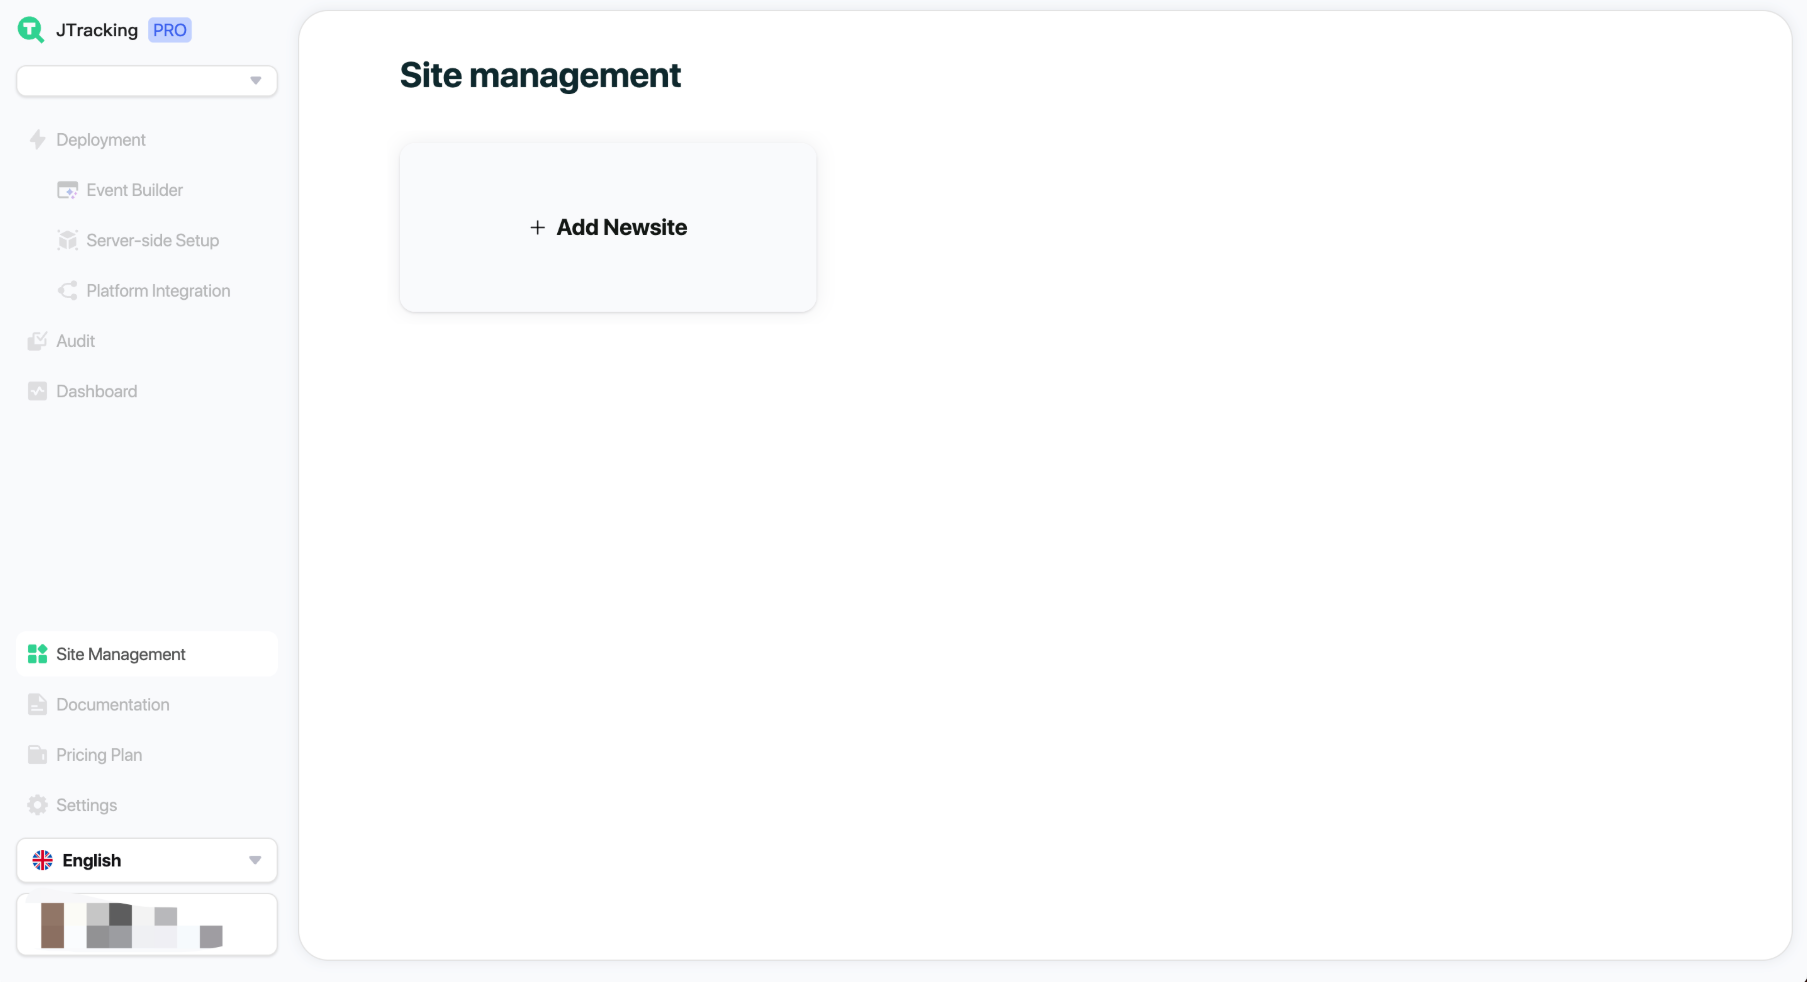
2. Create a Site
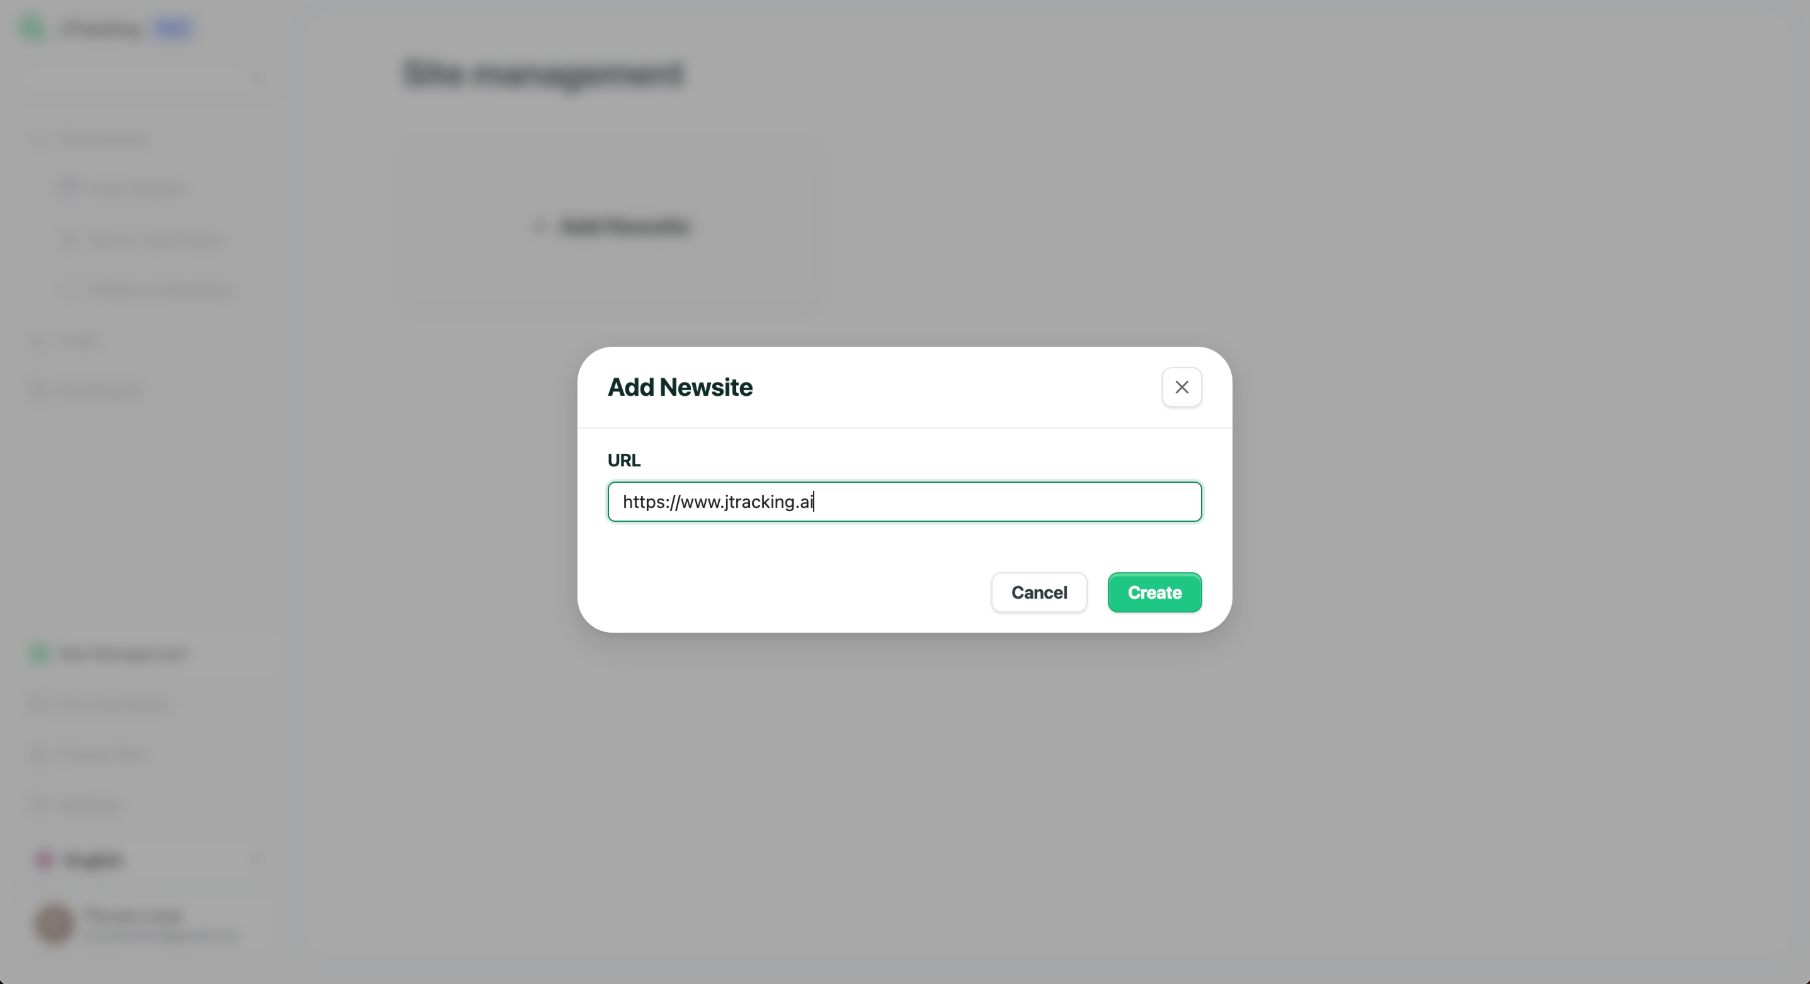
Click Add New site.
Enter the site URL to create site.
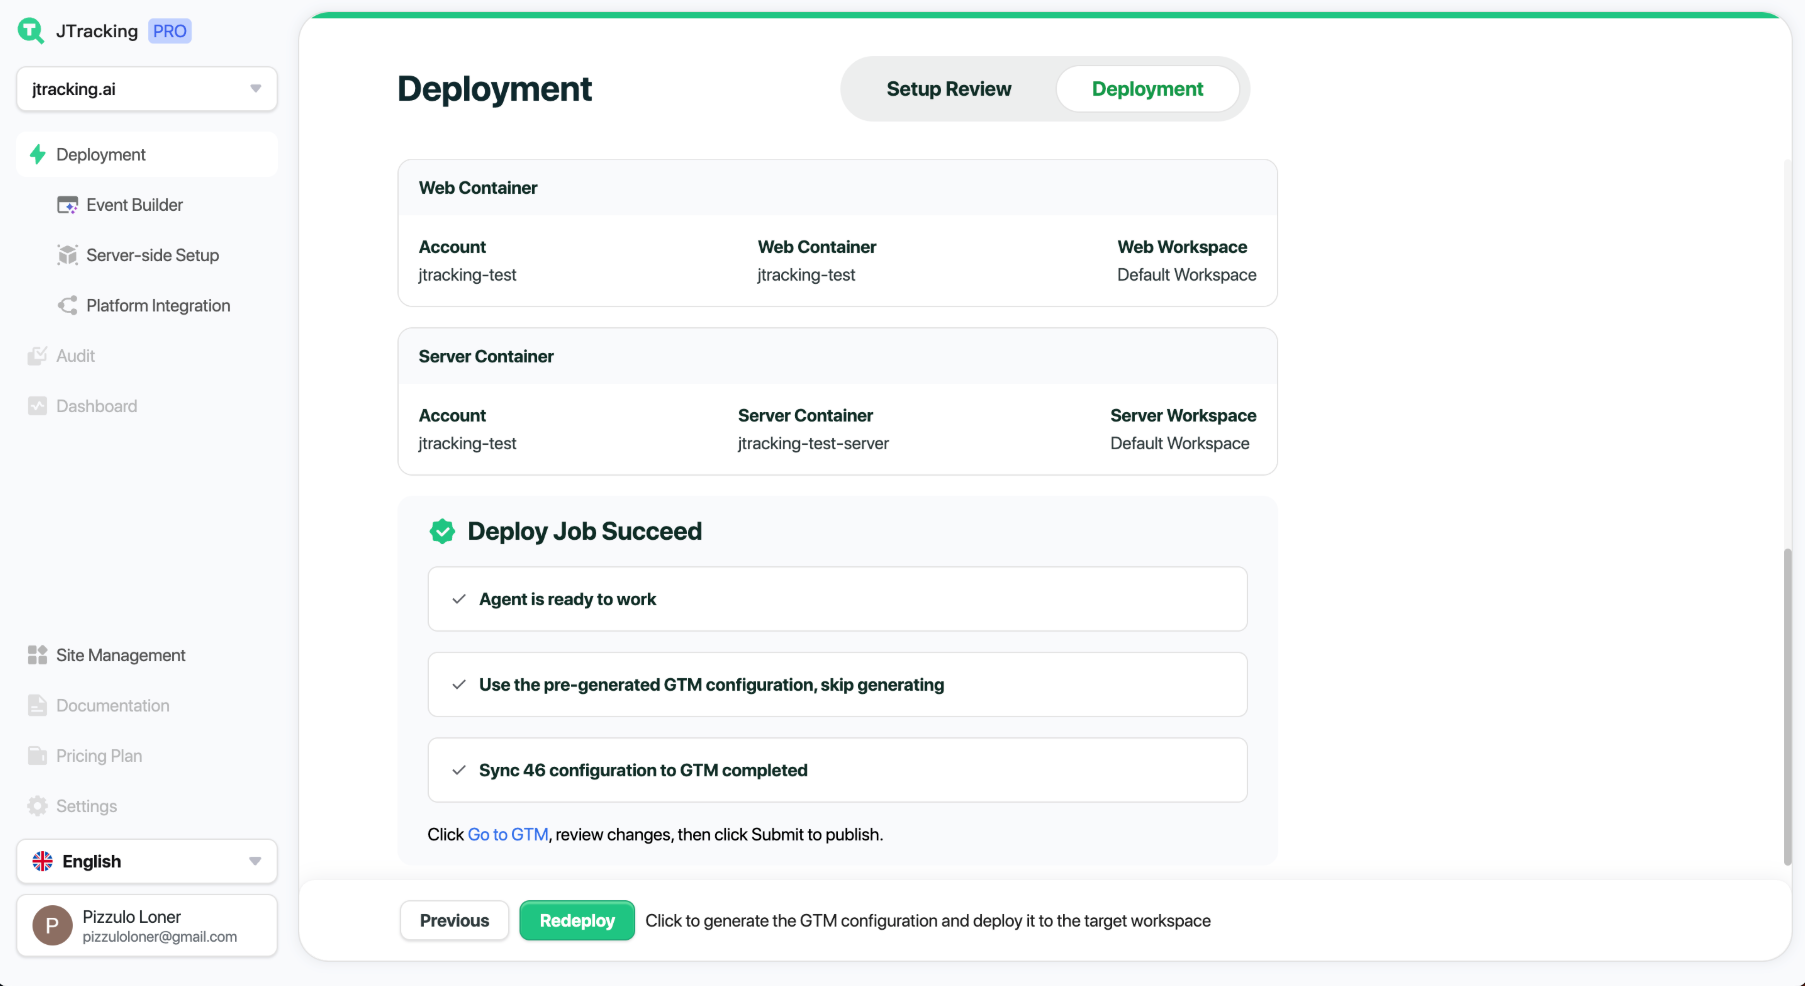
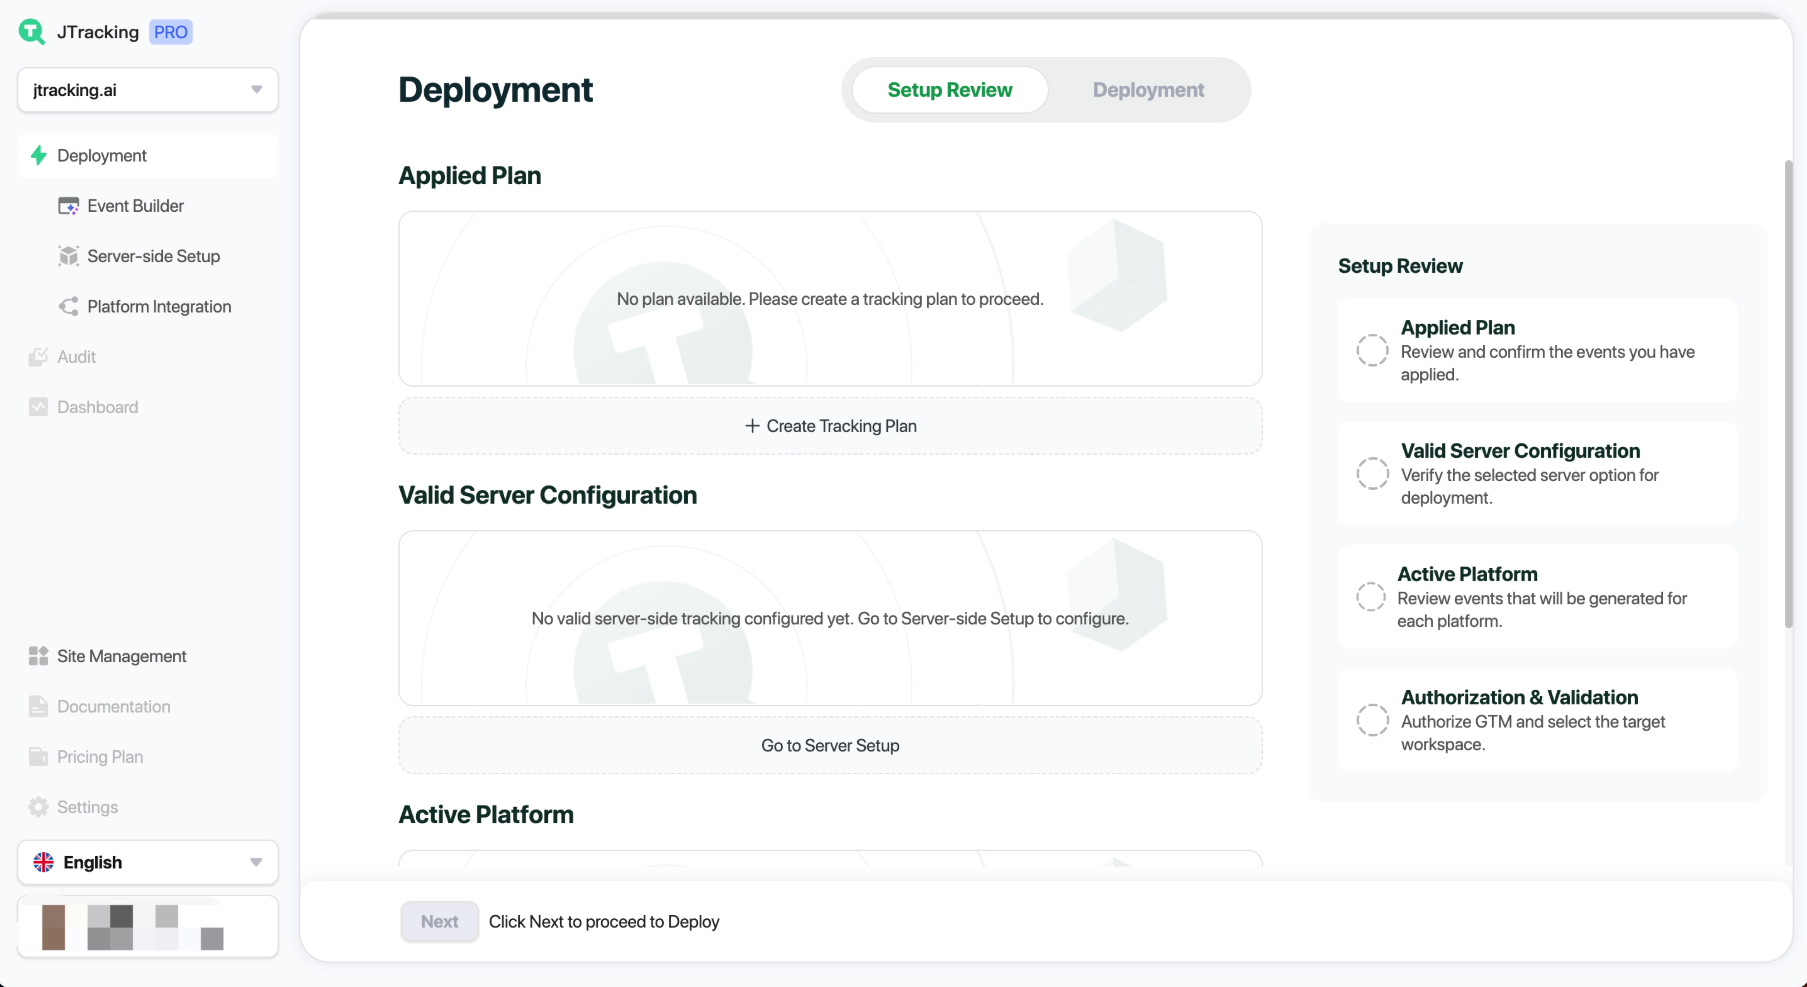
3. Deployment Overview
Once a site is created, you’ll be directed to the Deployment module. On the right panel, you’ll find a checklist of prerequisites required before running a deployment job.
4. Prepare Tracking Events
Navigate to Event Builder to set up tracking events.
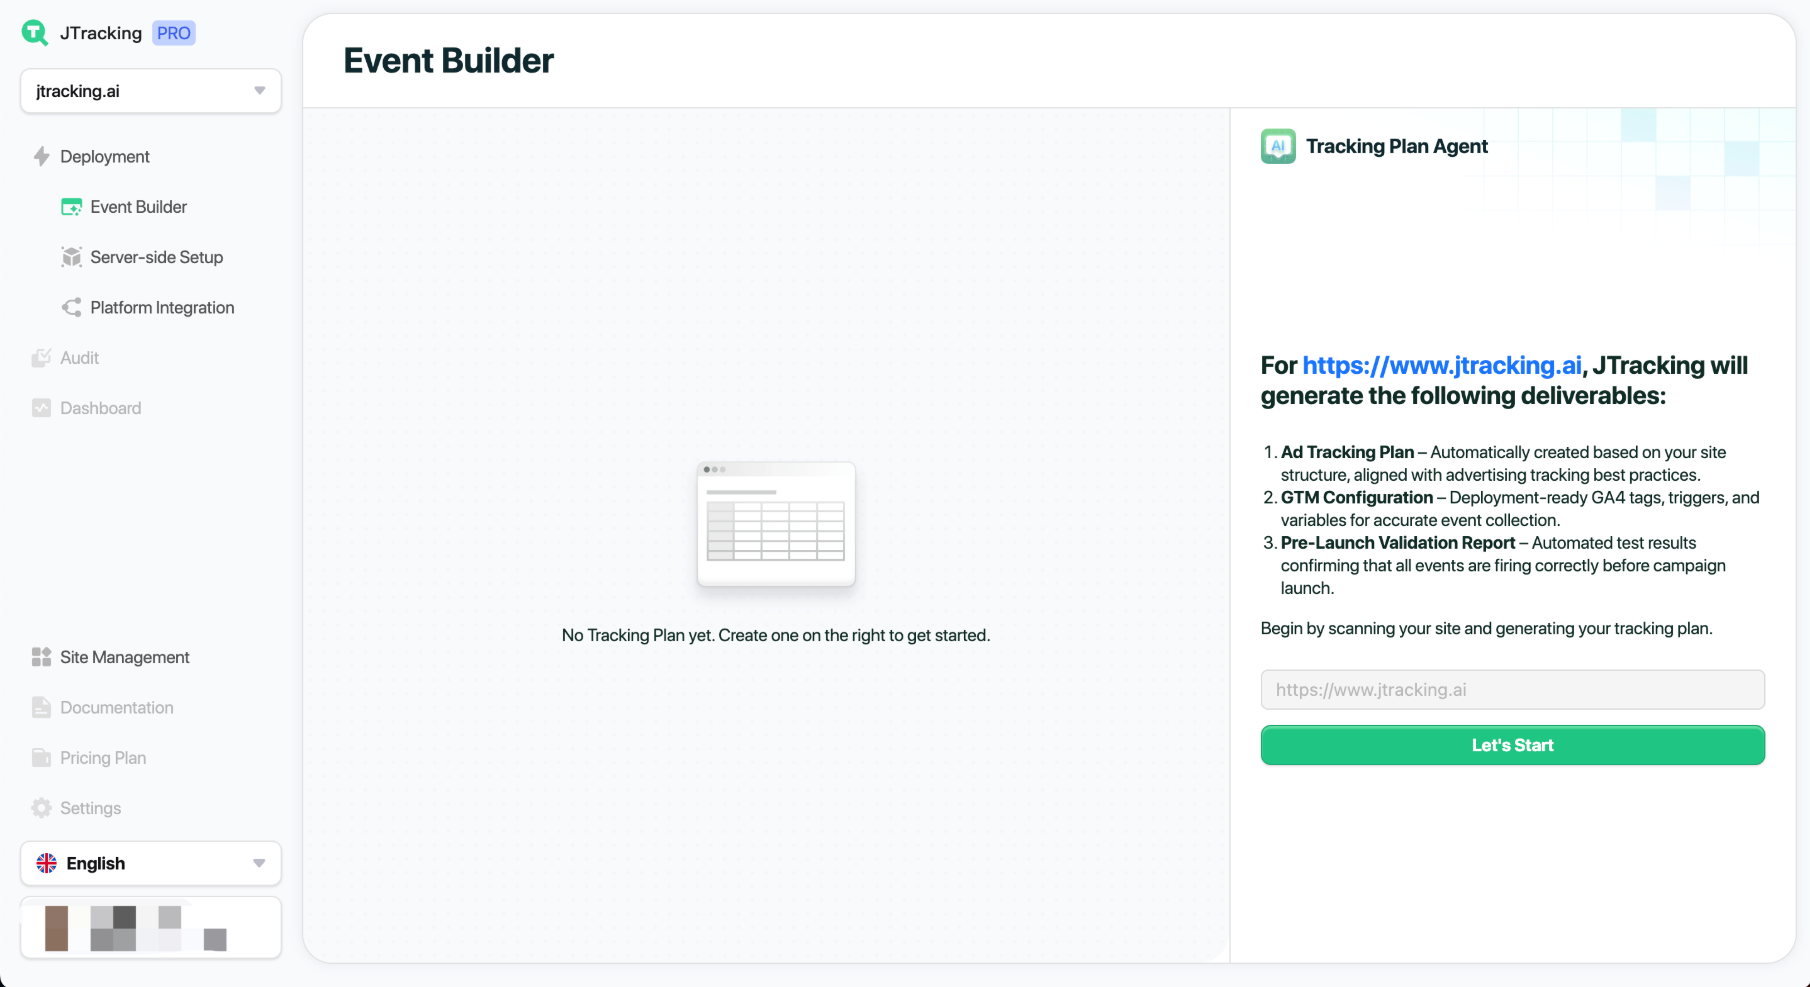
4.1. Site Scraping
Click Start to automatically scrape your site.
- The left panel displays generated outputs.
The right panel shows task cards (Sitemap) and next-step guidance (Tracking Intentions).
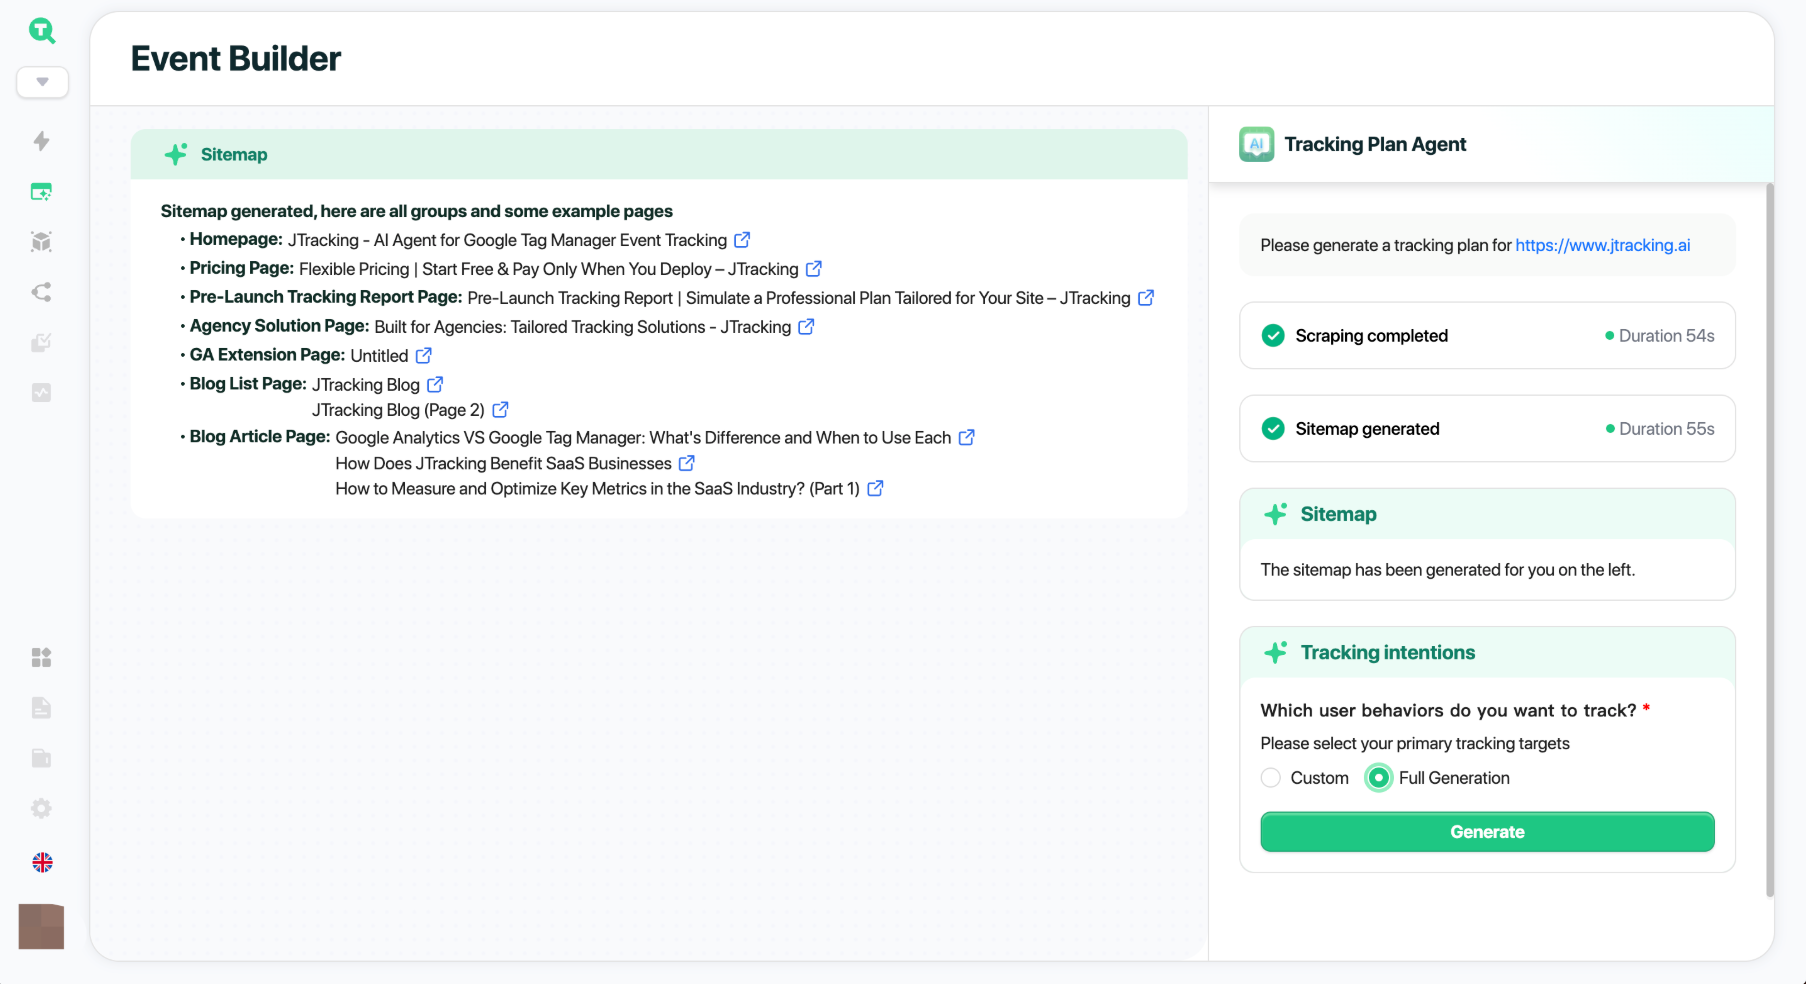
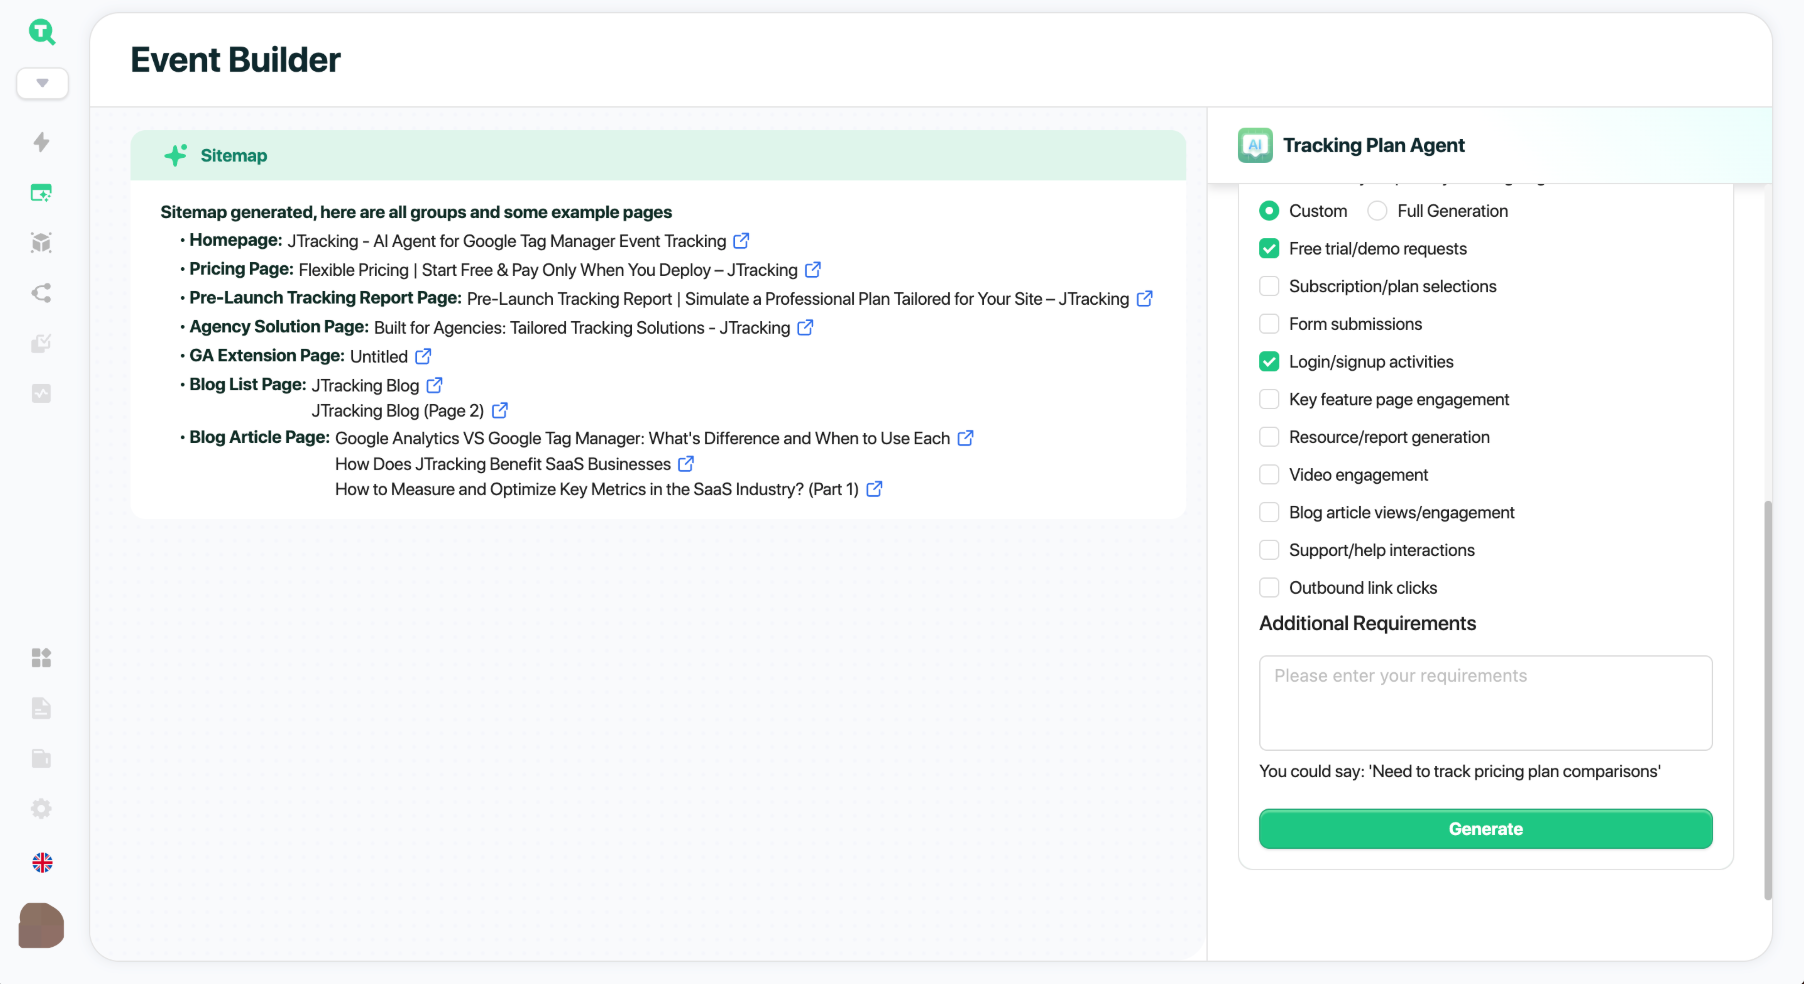
4.2. Define Tracking Intentions
Complete the Tracking Intentions form:
- Custom: Manually select and define the events to capture.
- Full Generation: Let the AI Agent auto-generate all recognized events.
Click Generate to create your tracking plan.
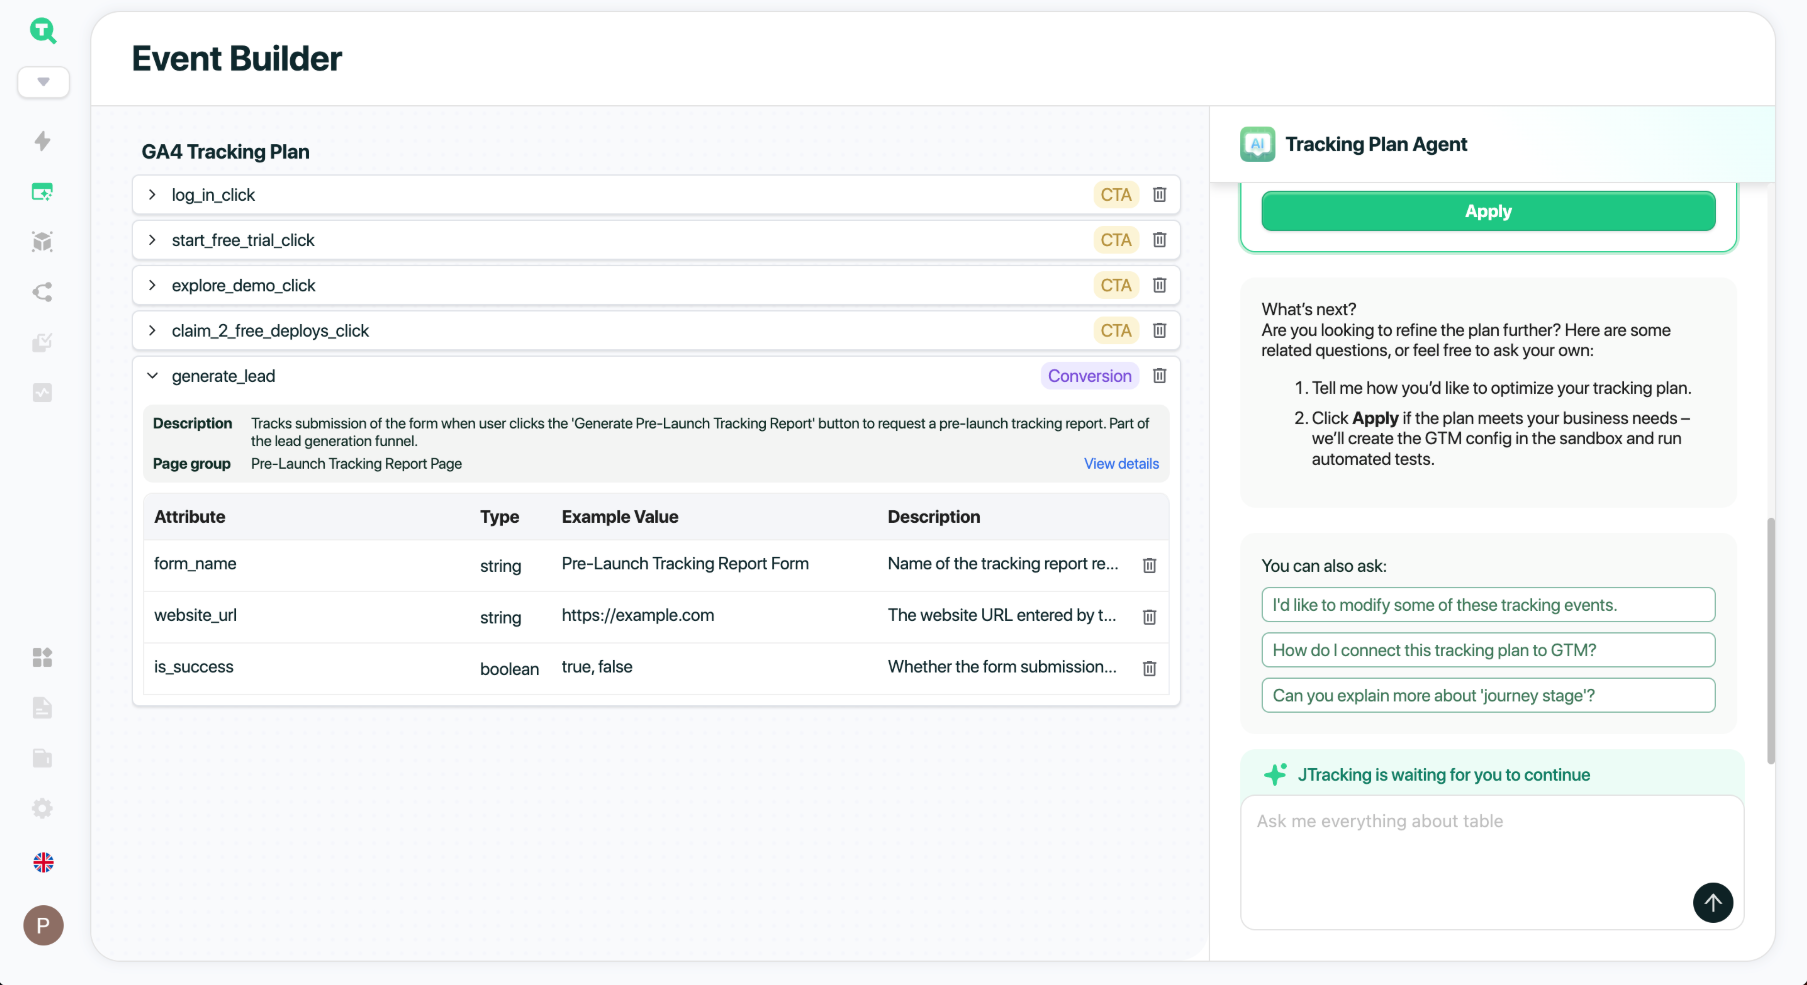
4.3. Generate Tracking Plan
- The right panel hosts the AI Agent, where you’ll see task cards, step-by-step guidance, and conversation history. You can ask questions or request changes directly.
- The left panel is the Workspace, showing outputs tied to the selected task card.
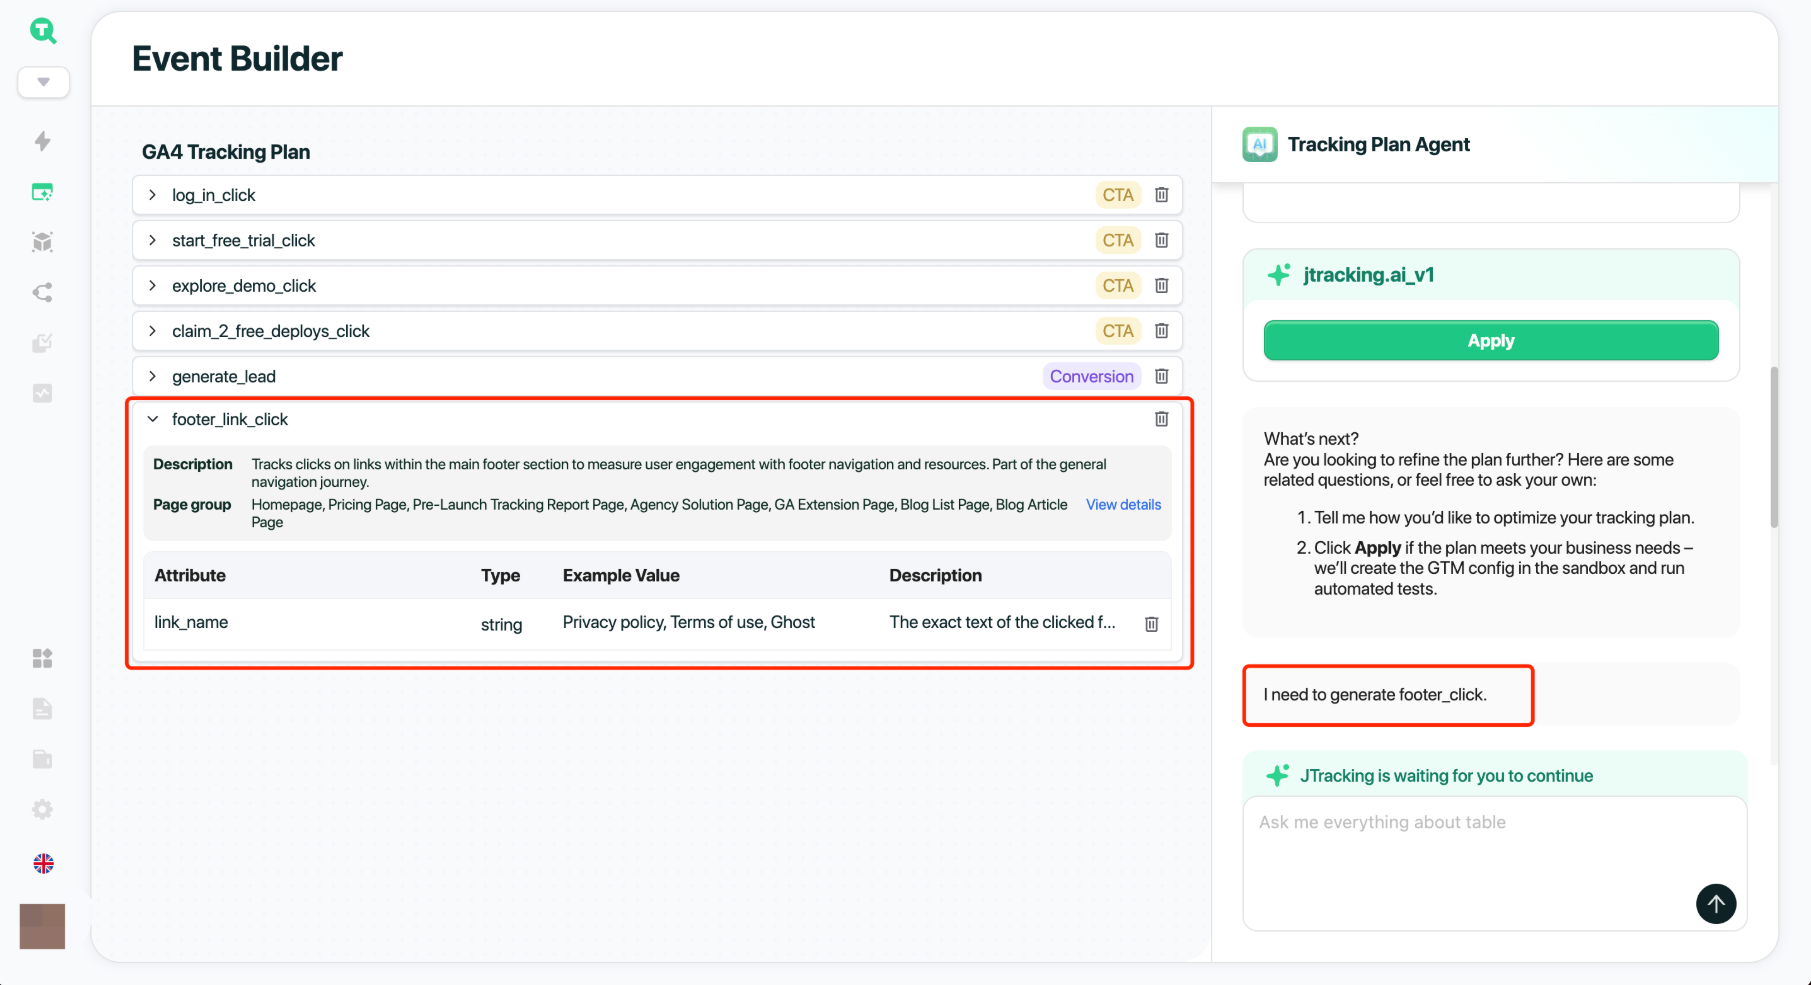
Example: the active plan jtracking.ai_v1.
Of course, you can also send your custom tracking requirements to the agent — for example: I need to generate footer_click.
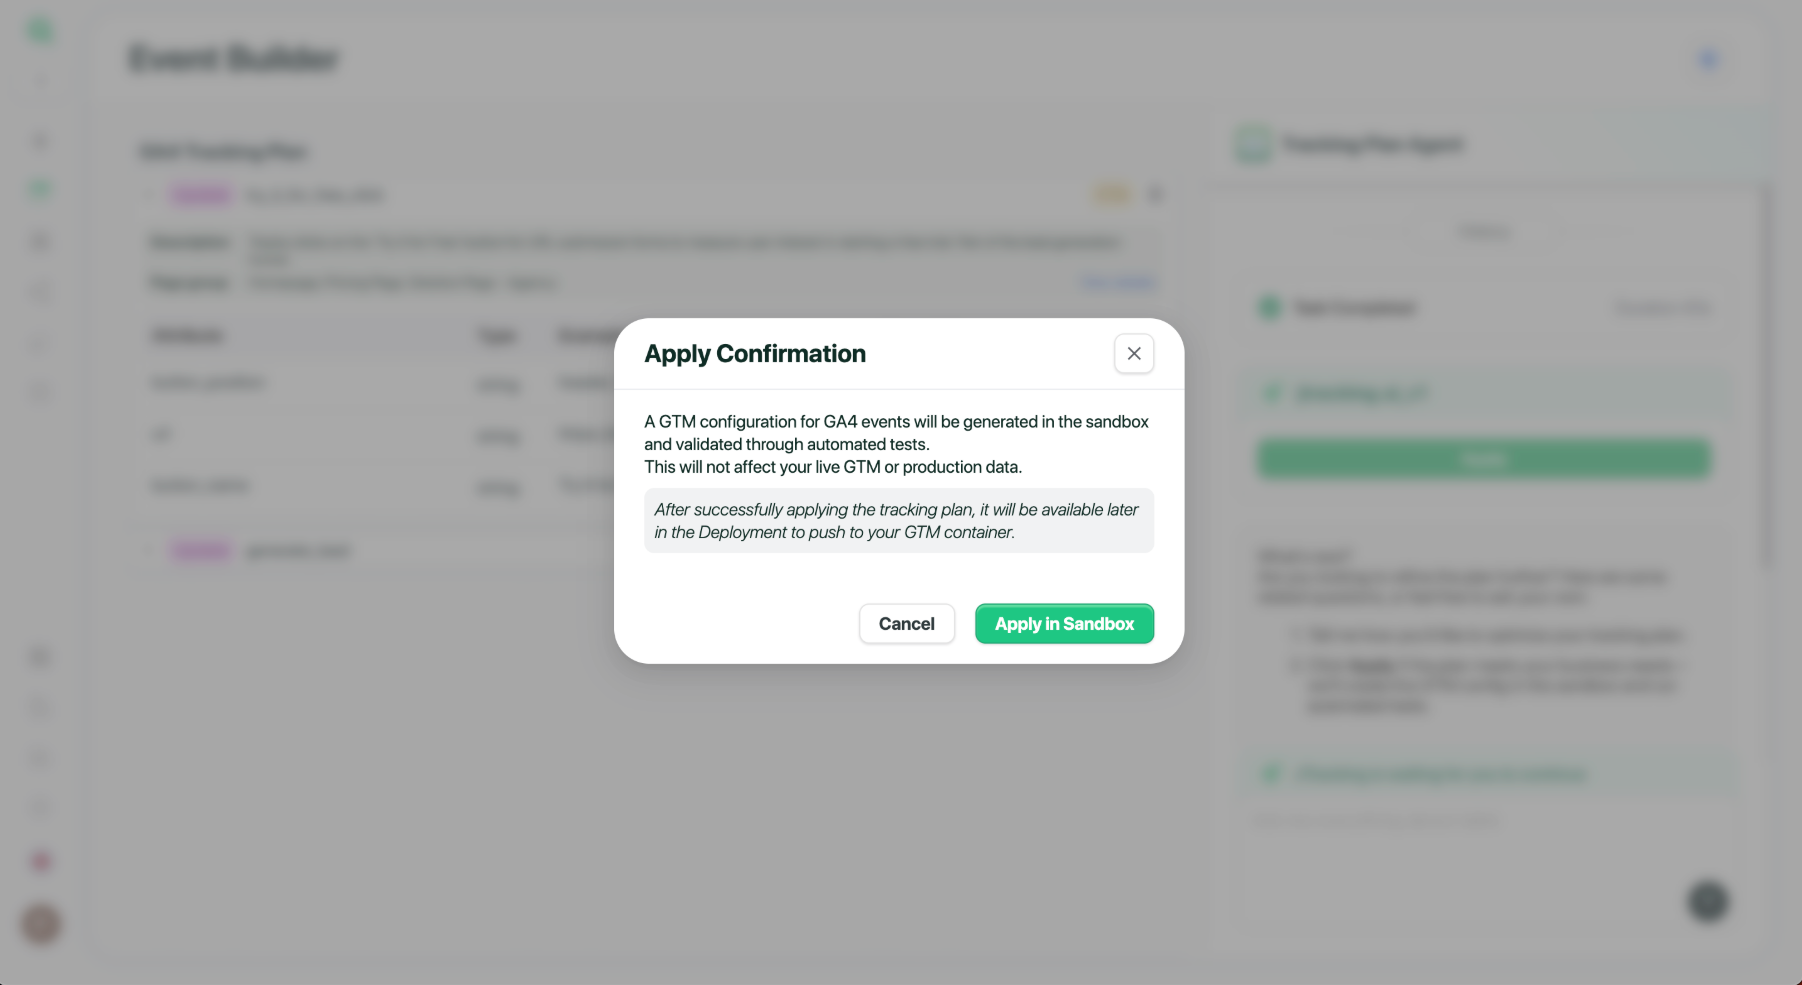
4.4. Apply Tracking Plan
Then, click Apply on the plan card:
- A sandbox GTM configuration will be generated.
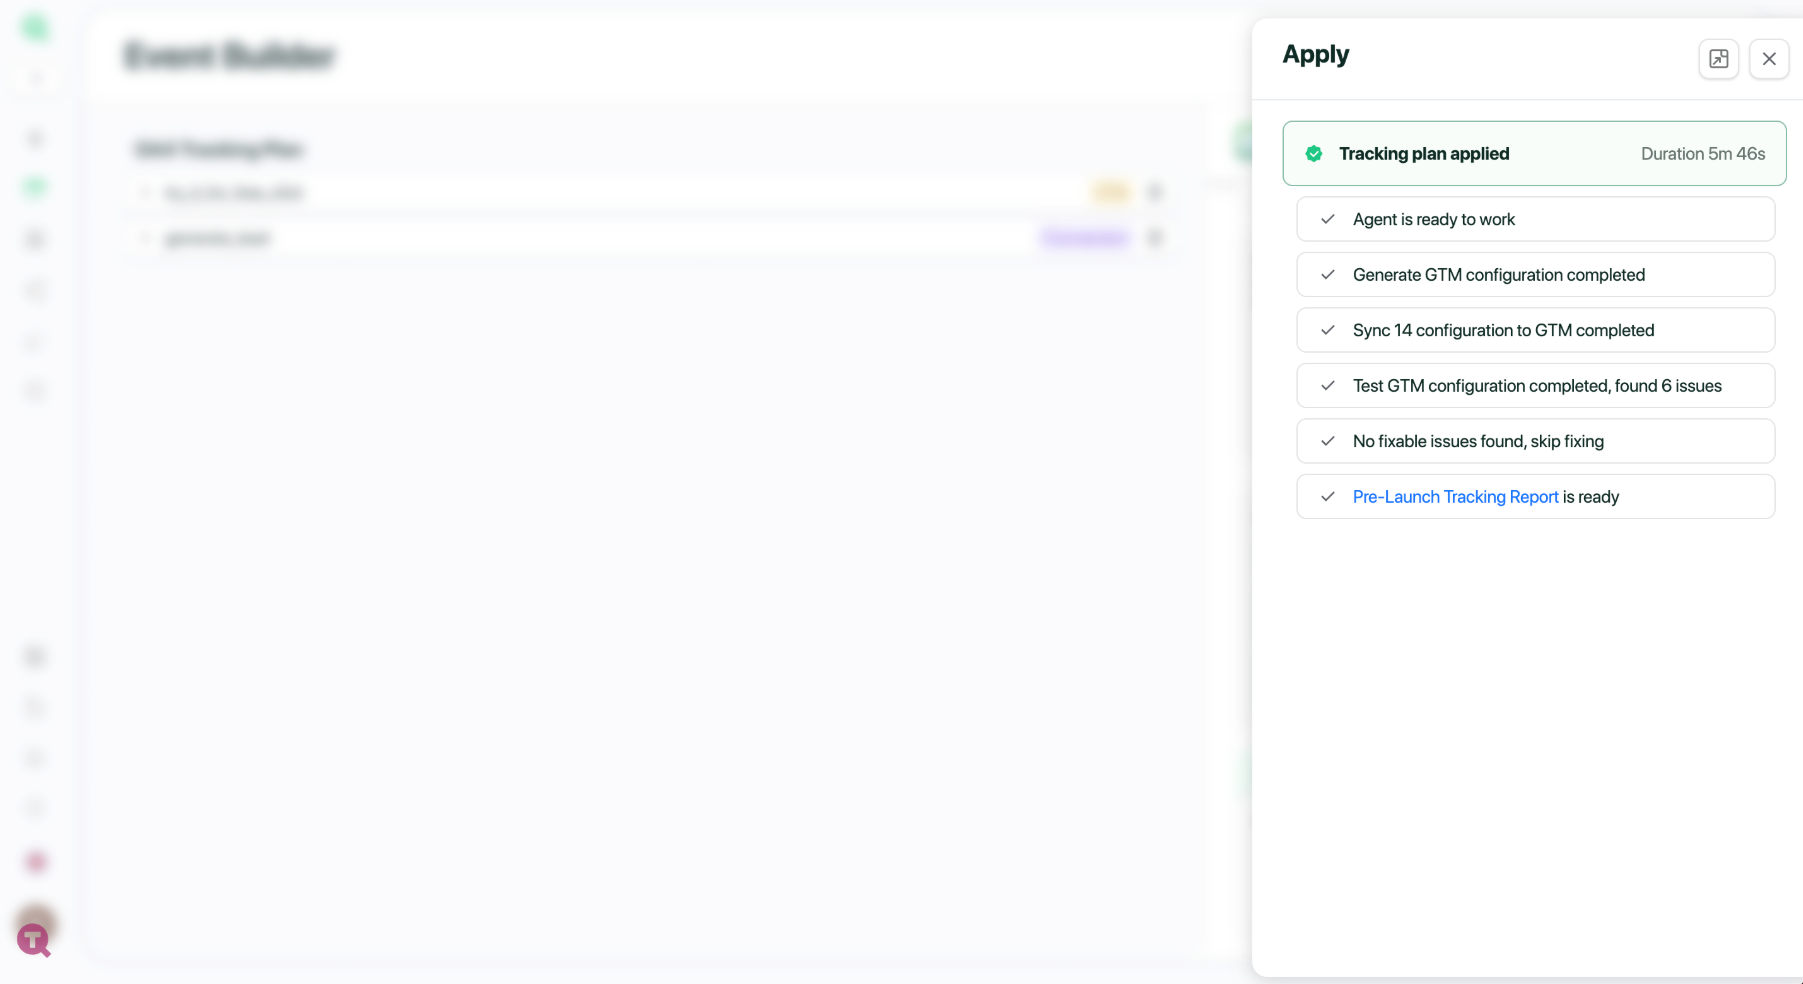
A Pre-Launch Tracking Report will automatically validate event quality.
Outputs and results appear in the task card on the top-right.
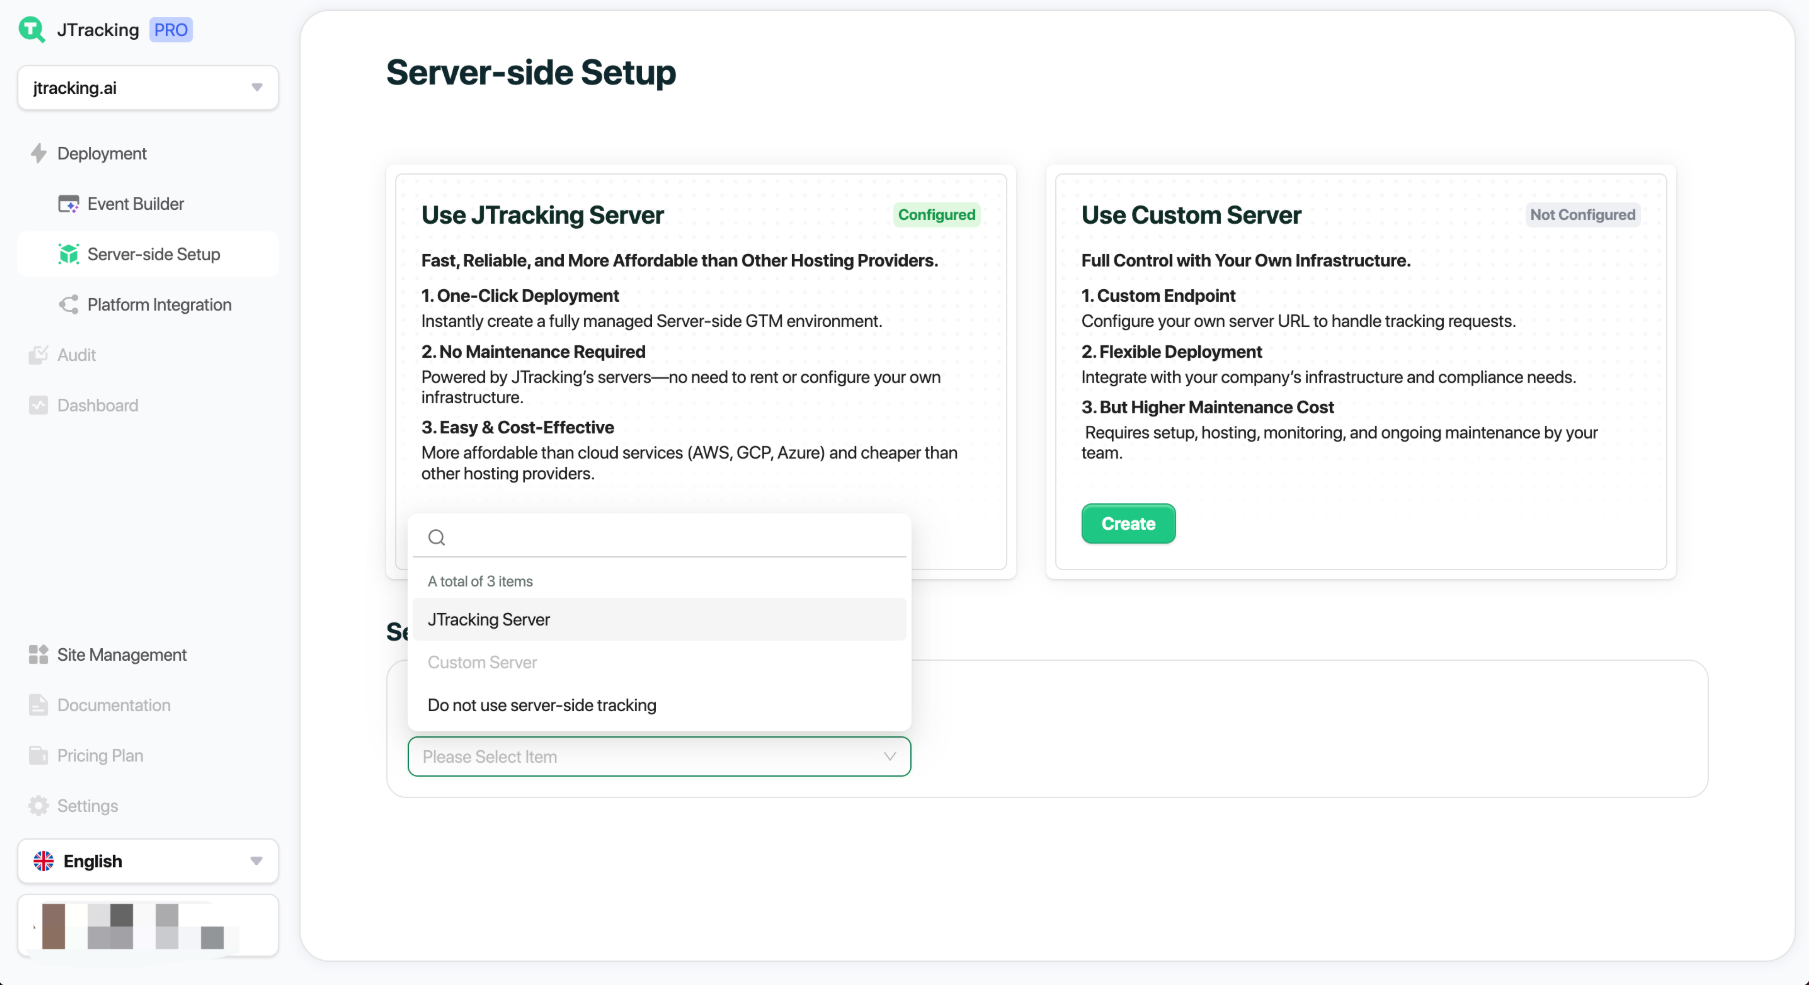
5. Configure Server
Go to Server-side Setup in the navigation bar. JTracking supports two server options:
- Use JTracking’s managed server.
Use your own server.
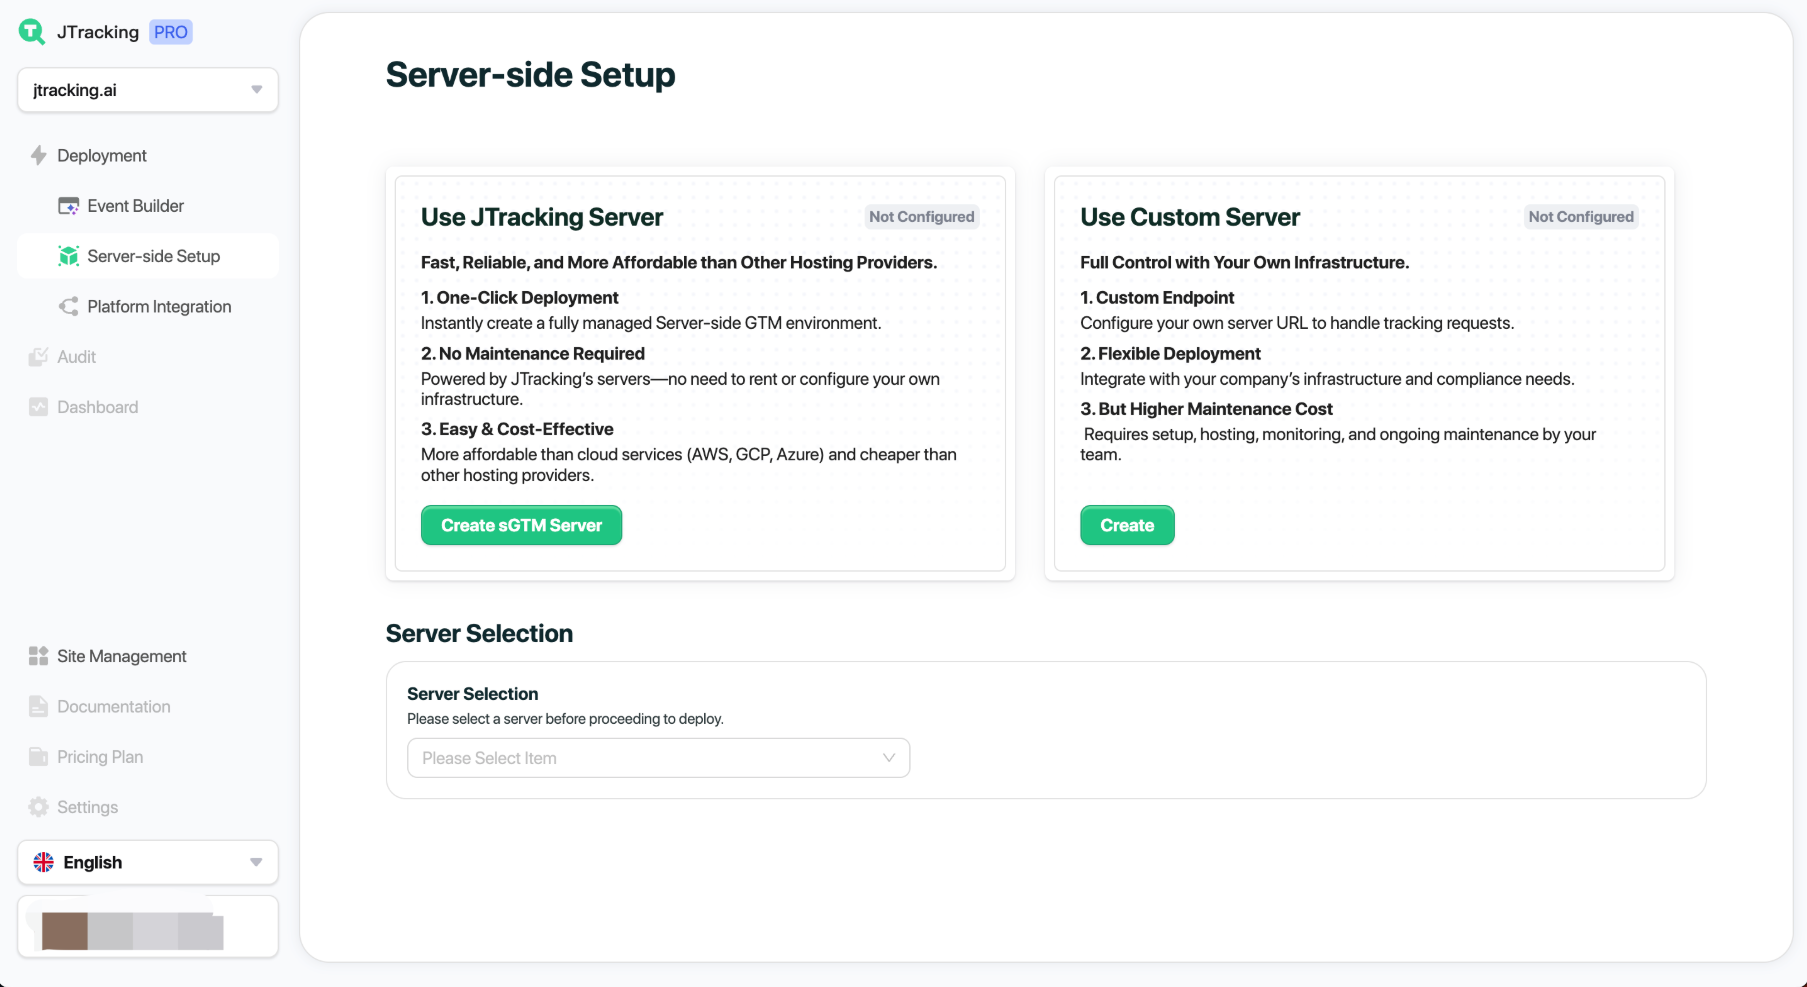
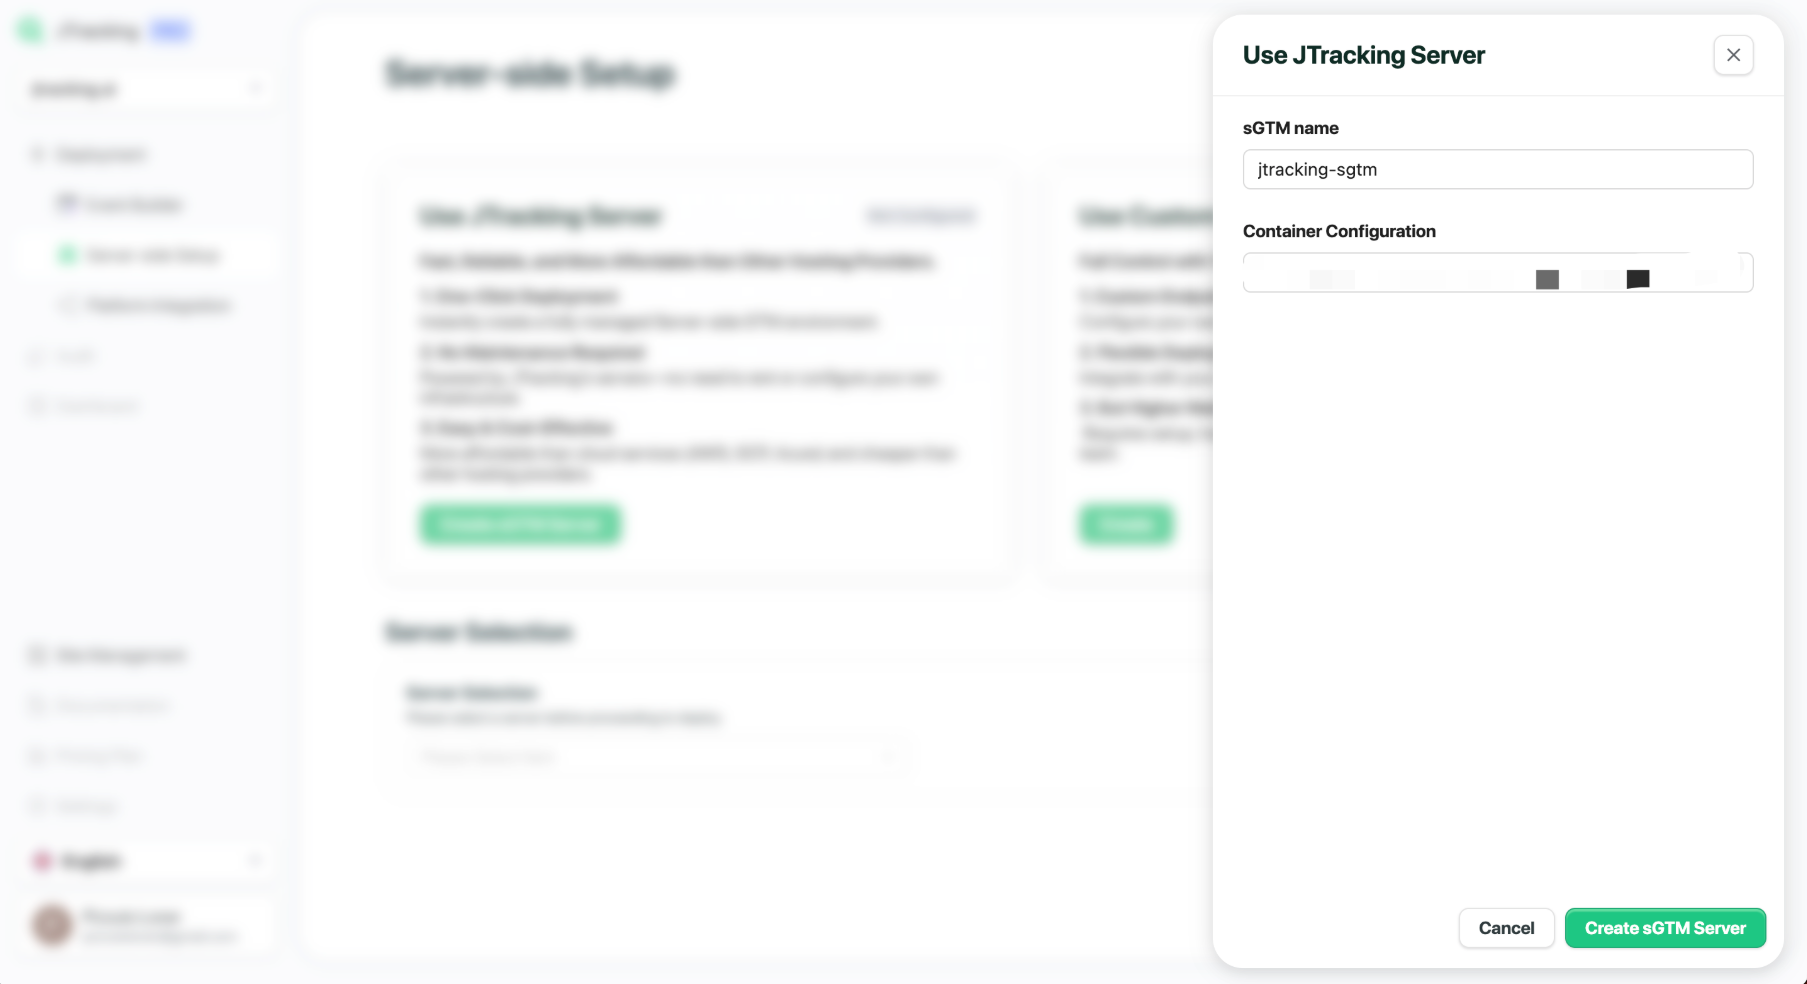
5.1. Create a Server Configuration
Click Create sGTM Server.
- Enter an sGTM display name.
- Retrieve the Container Config from GTM.
Click Create sGTM Server.
Once created, the sGTM details page shows event usage, basic info, and domain settings.
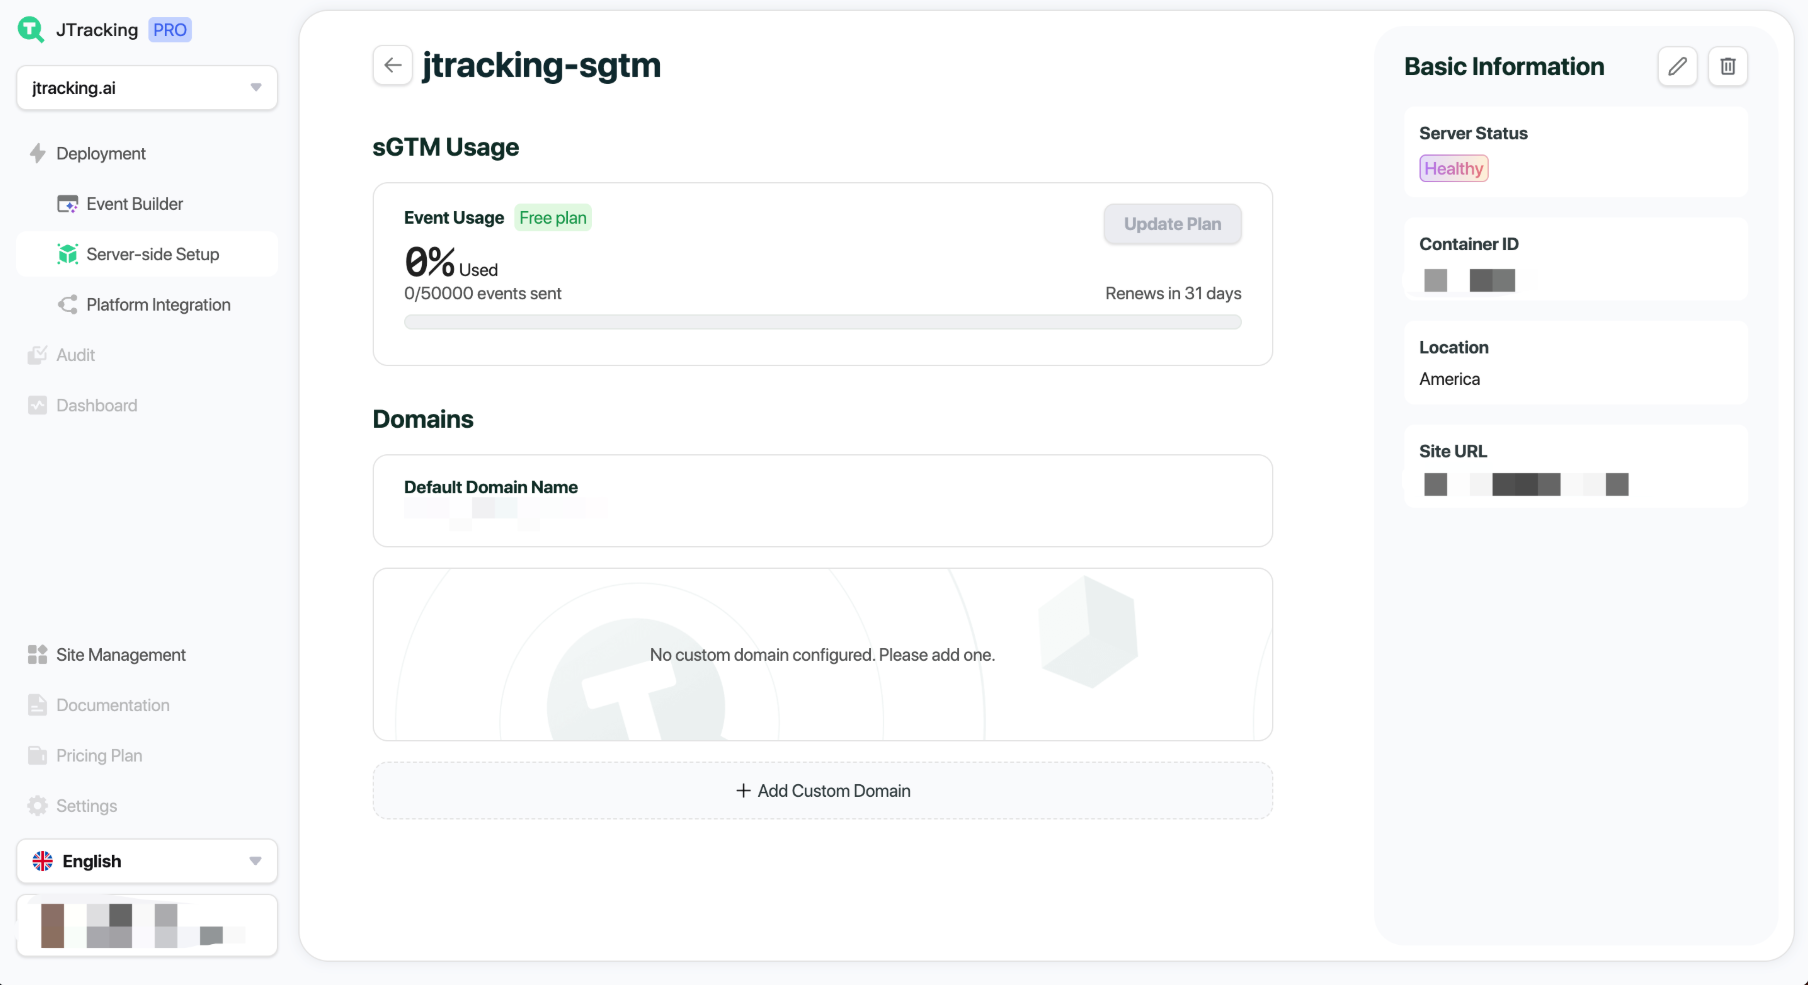
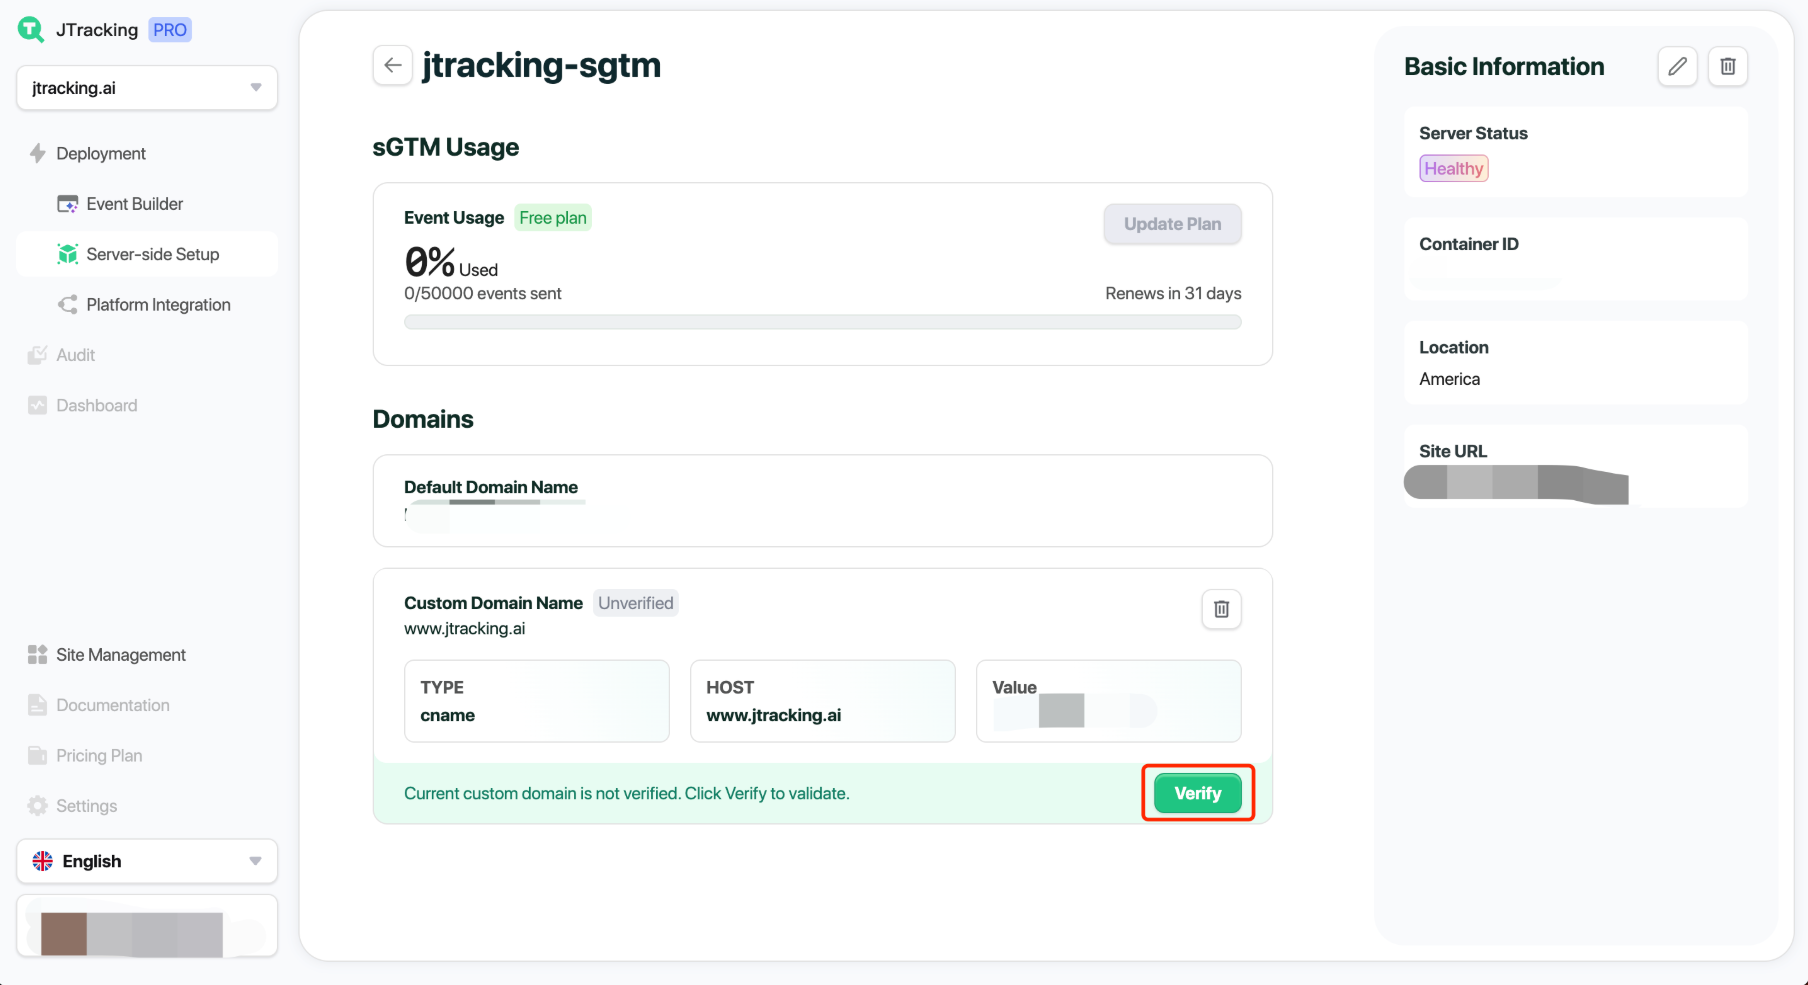
5.2. Add a First-Party Domain
Click Add Custom Domain and enter your domain (e.g., www.jtracking.ai).
- Configure the CNAME record on your server.
- Click Verify to validate.
Once verified, the domain is active.

5.3. Select Active Server Setup
Choose which server configuration should go live. (You can also opt out of SST if server-side setup isn’t required.)
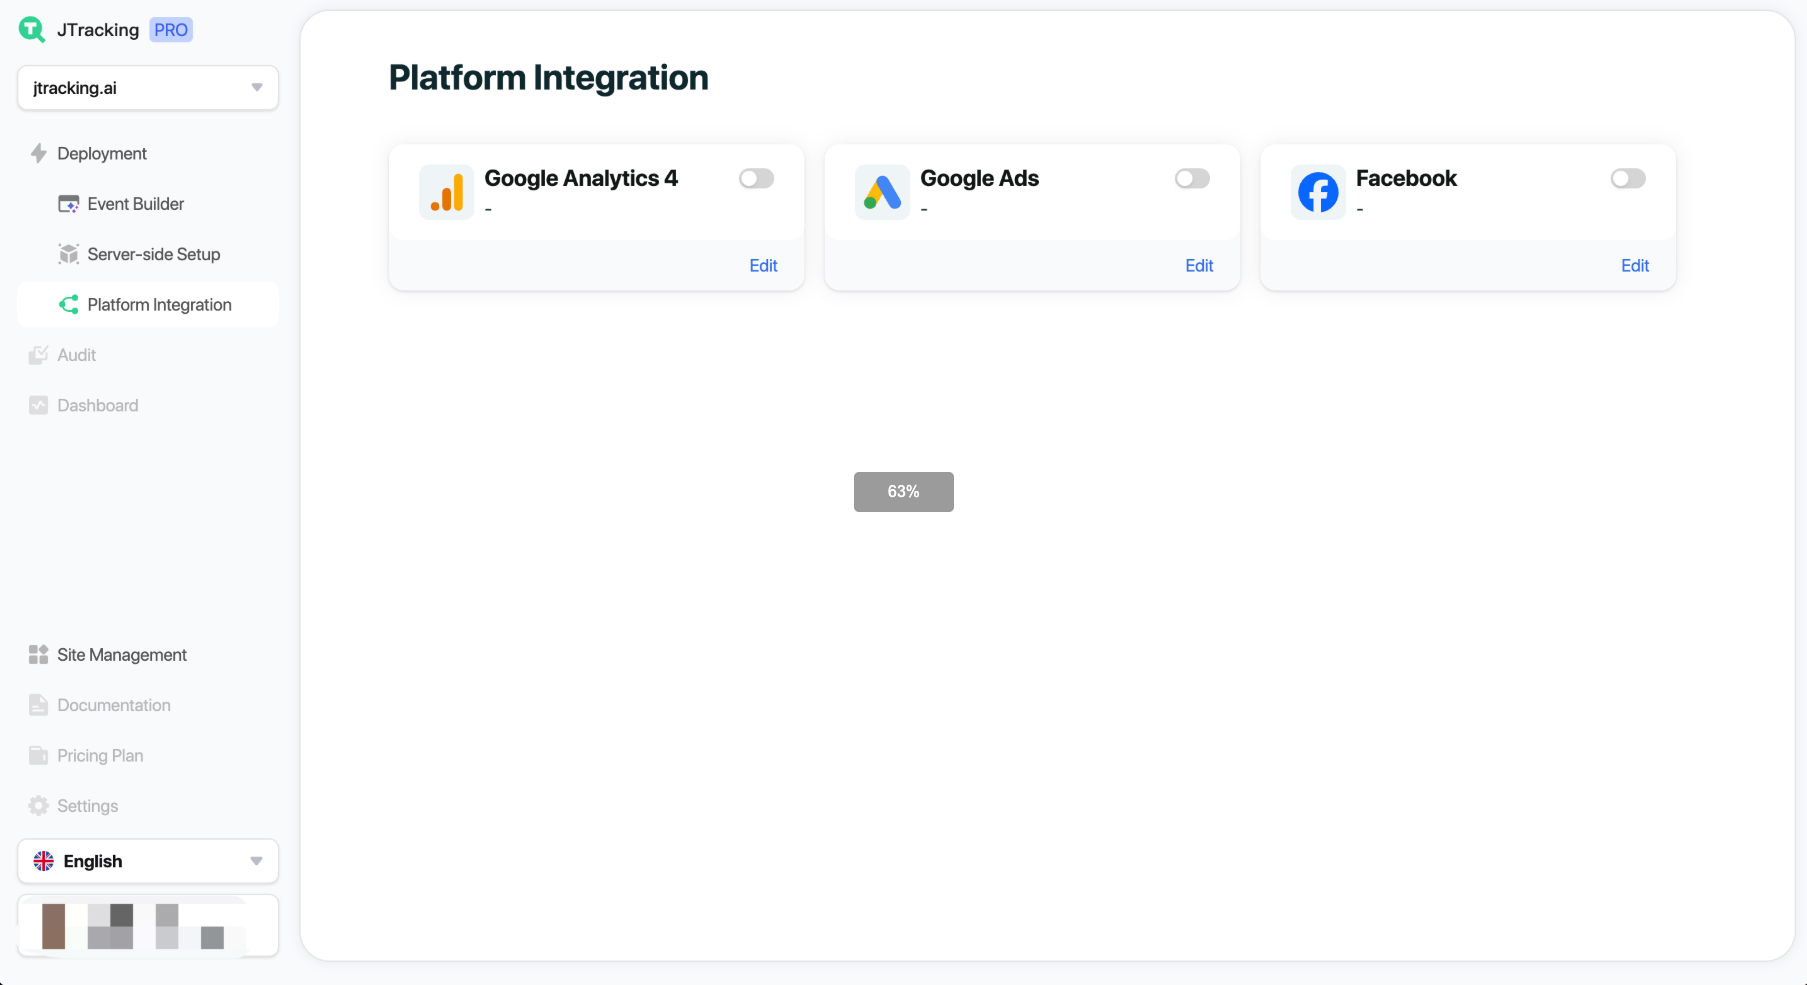
6. Configure Platforms
Navigate to Platform Integration to connect analytics and ad platforms.
Currently supported: GA4, Google Ads, Facebook.
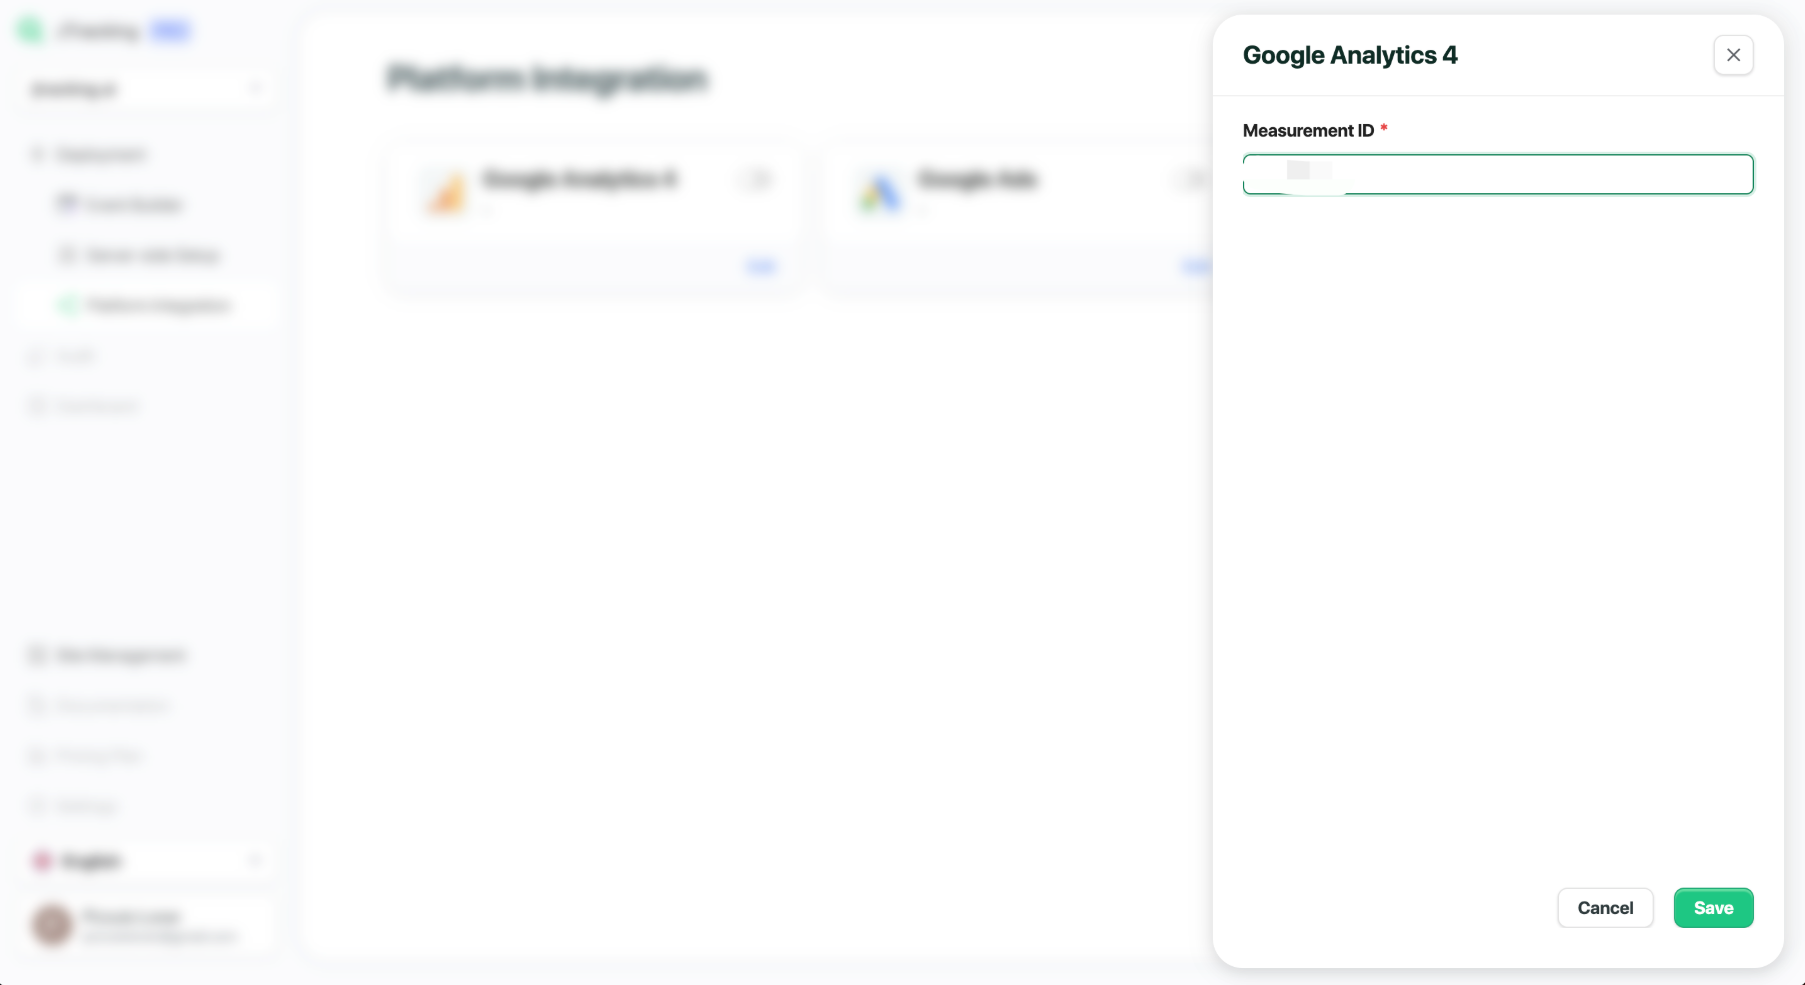
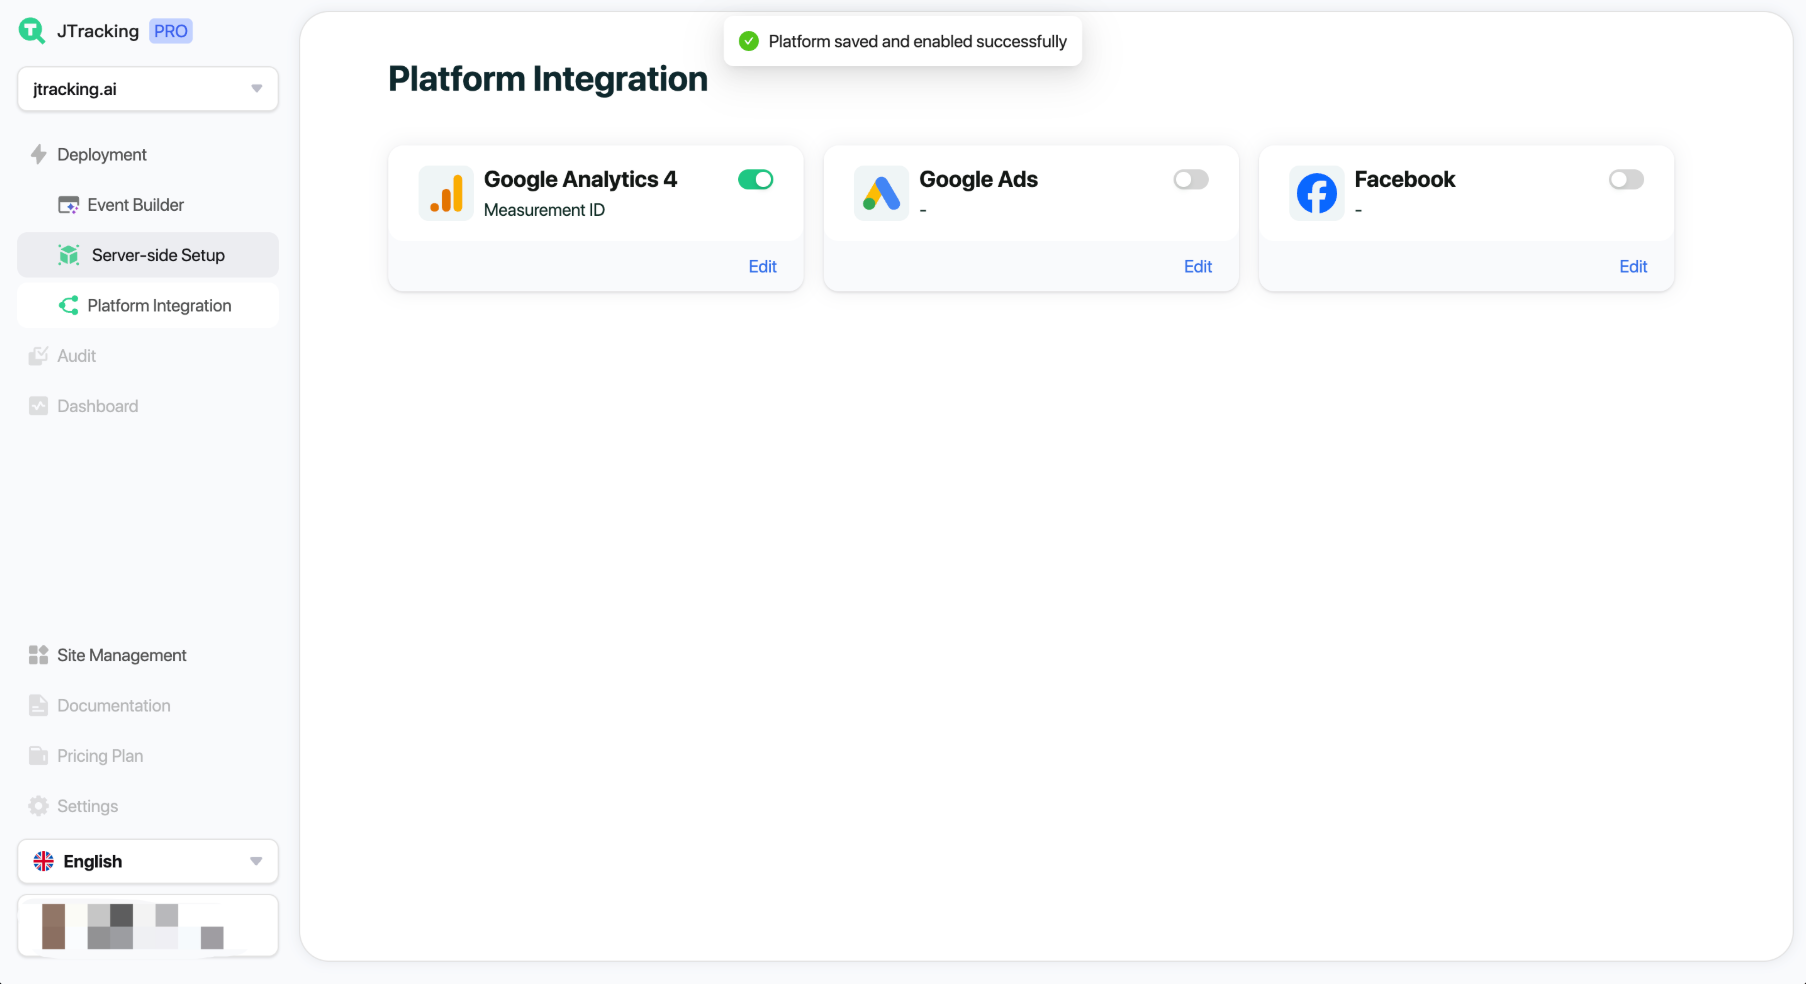
6.1. Save Platform Settings
Click Edit on a platform card, complete the form, and save.
- Only enabled platforms will be included in Deployment.
- Google Ads requires a server setup.
Facebook requires an Access Token to enable CAPI.
7. Deploy
Return to the Deployment module. The first three checklist steps should now be complete.
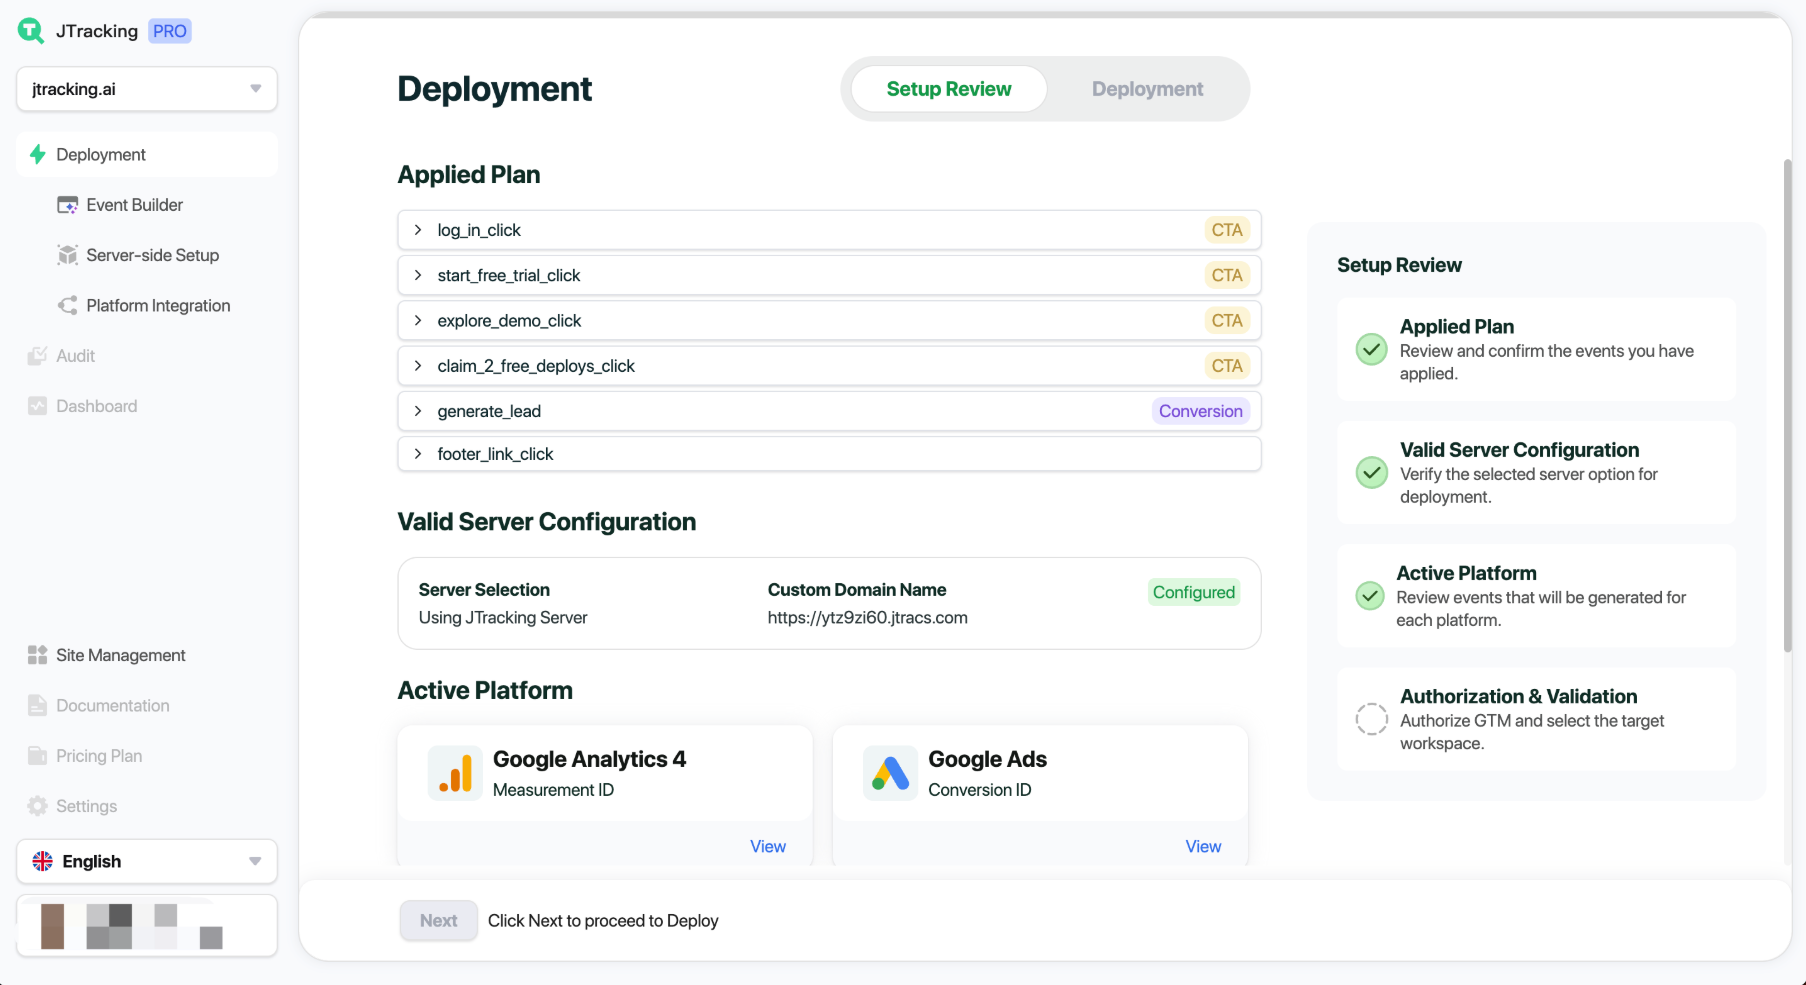
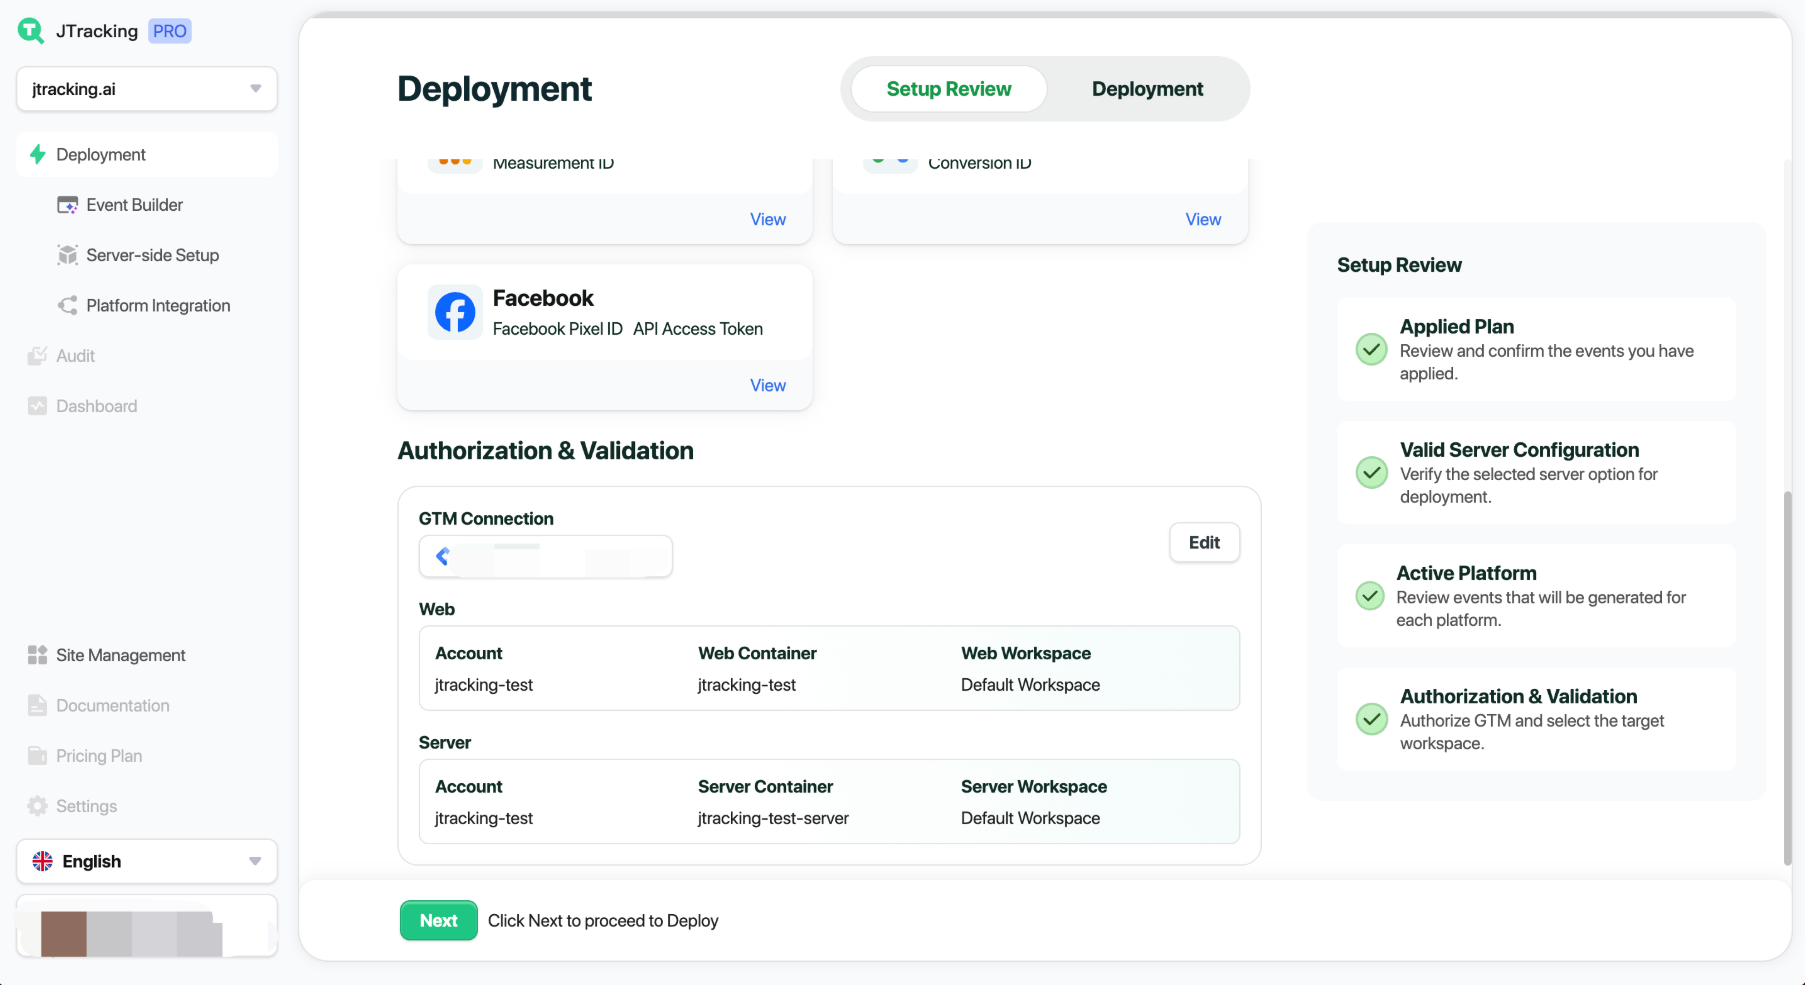
7.1. Review Deployment Setup
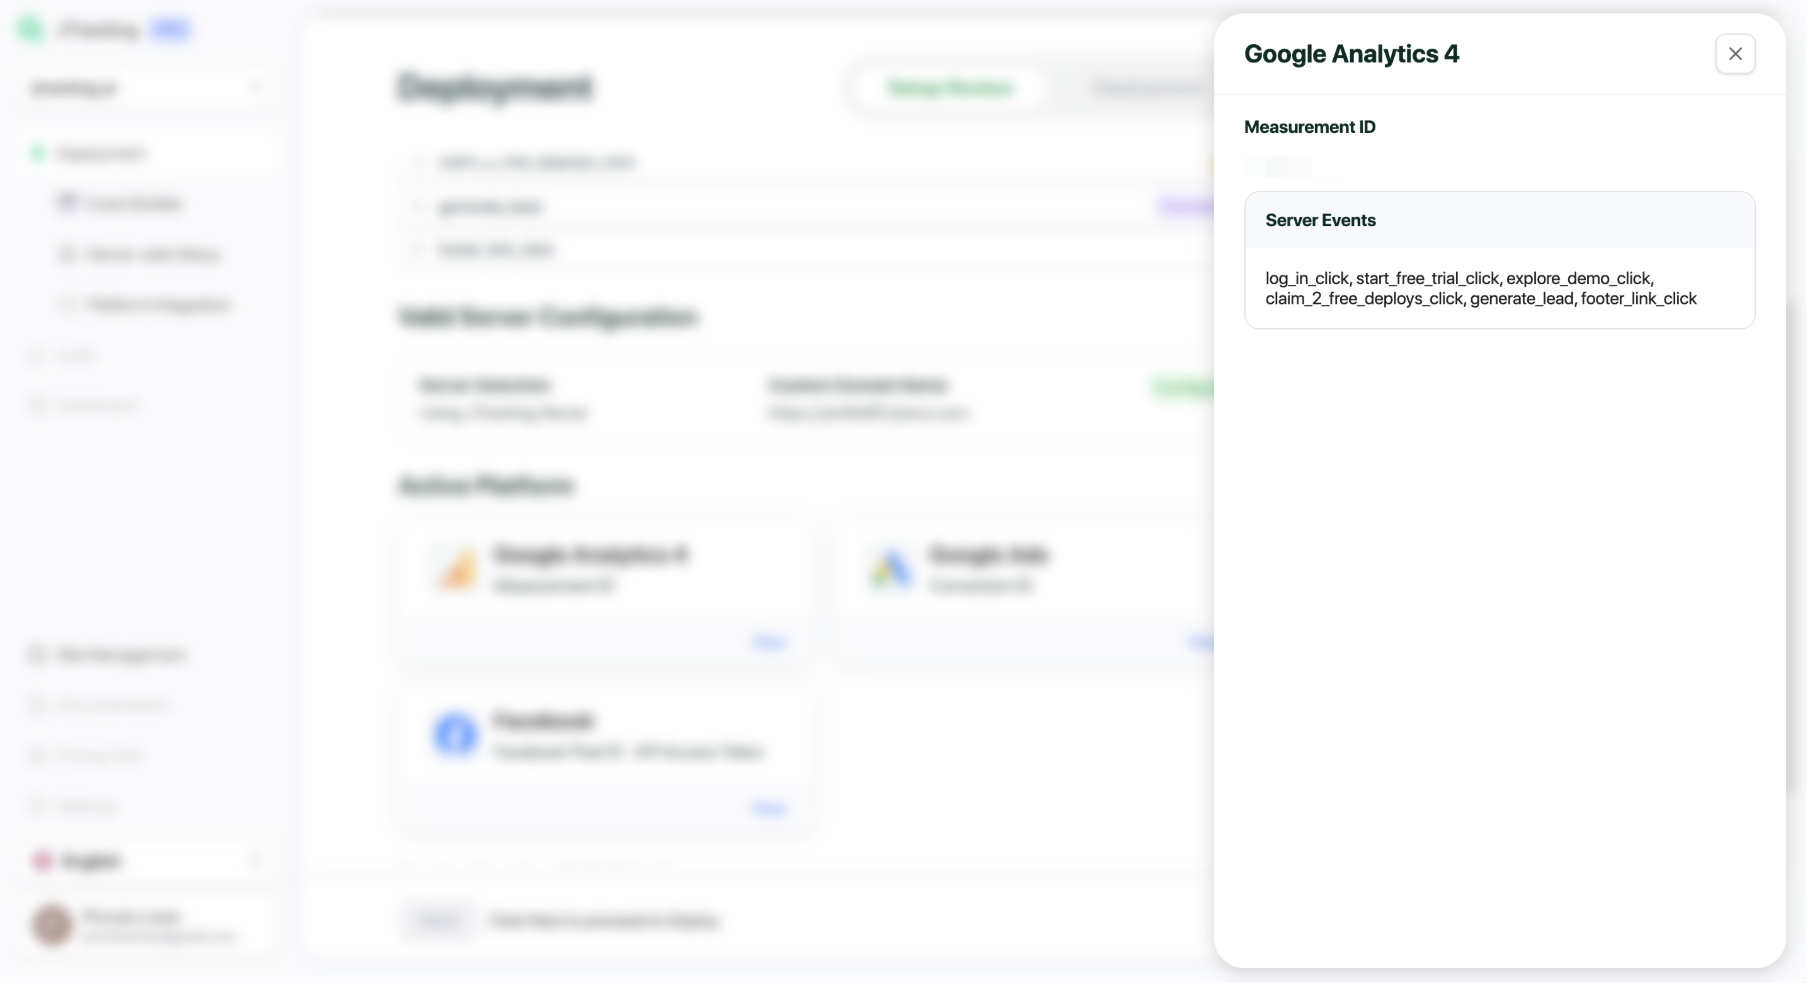
Check what this deployment will include:
- Tracking plan
- Server configuration
Platform configuration (expand to see which events will be generated in the Web and Server containers)
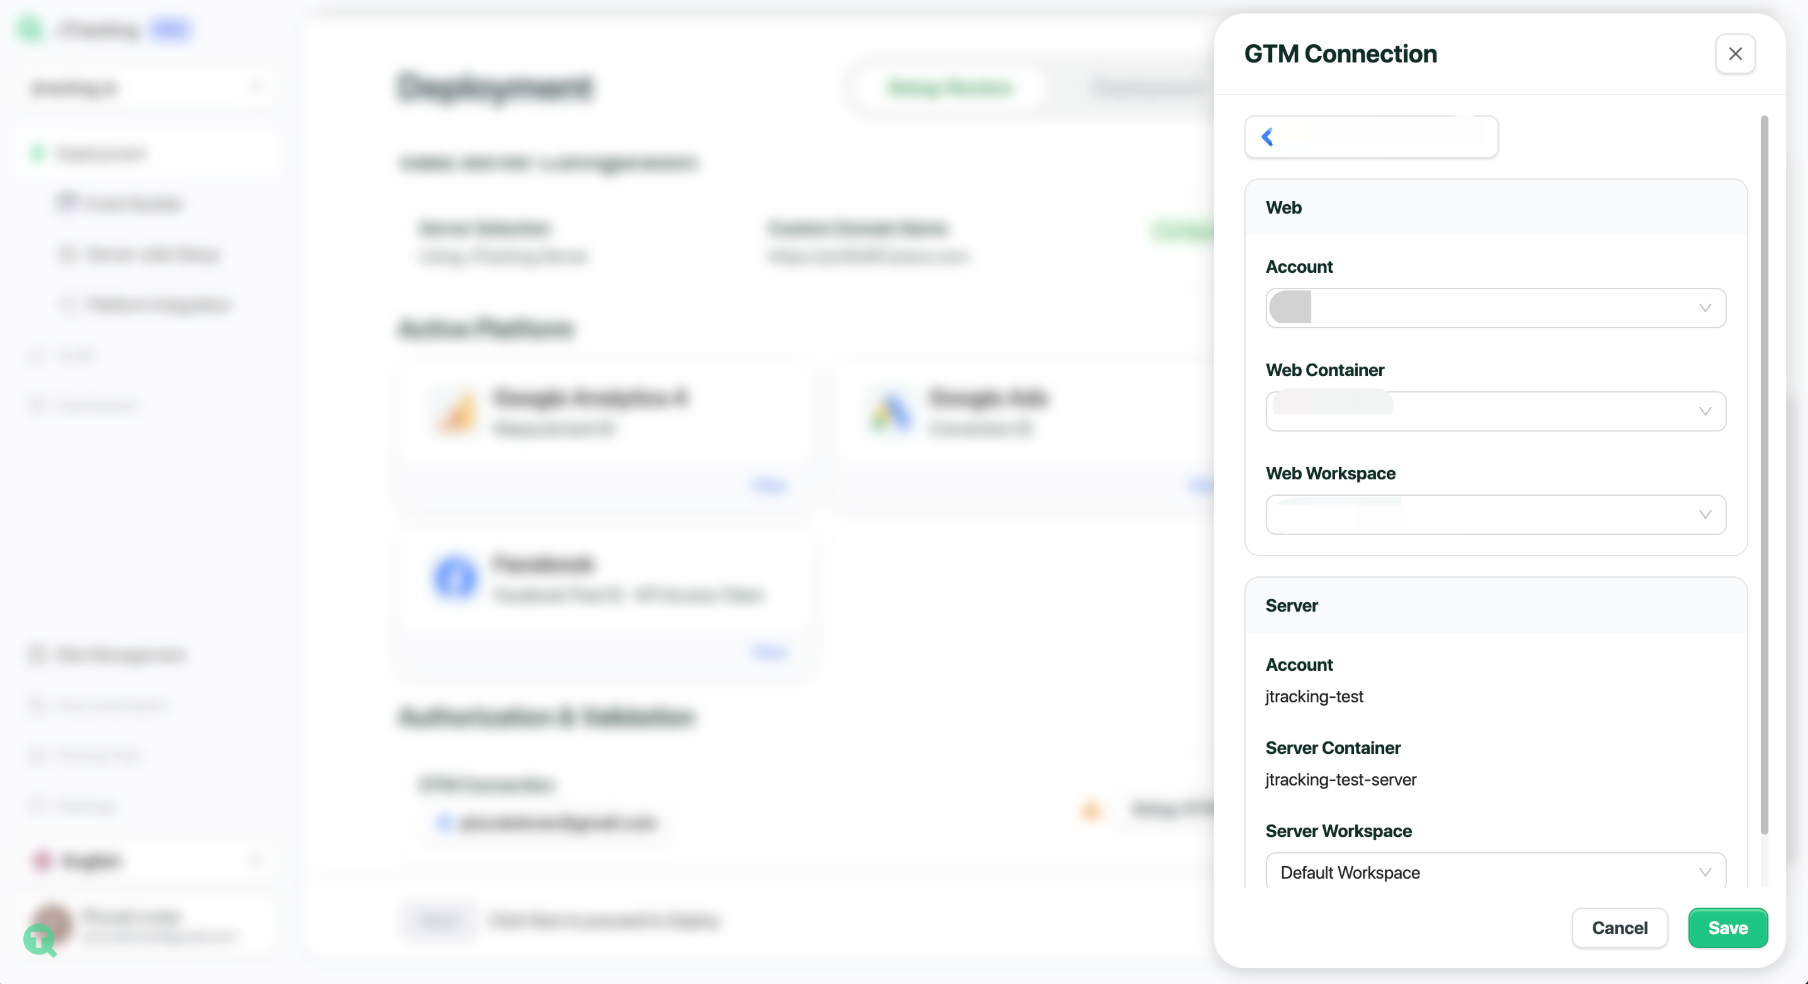
7.2. Connect GTM Workspace
In Authorization & Validation, click Connect to GTM. Authorize and select the target GTM Workspace for deployment.
7.3. Shopify Setup
For Shopify sites, follow the in-app guide to complete setup in your Shopify admin. Also, you can check detailed Shopify Integration Guide.
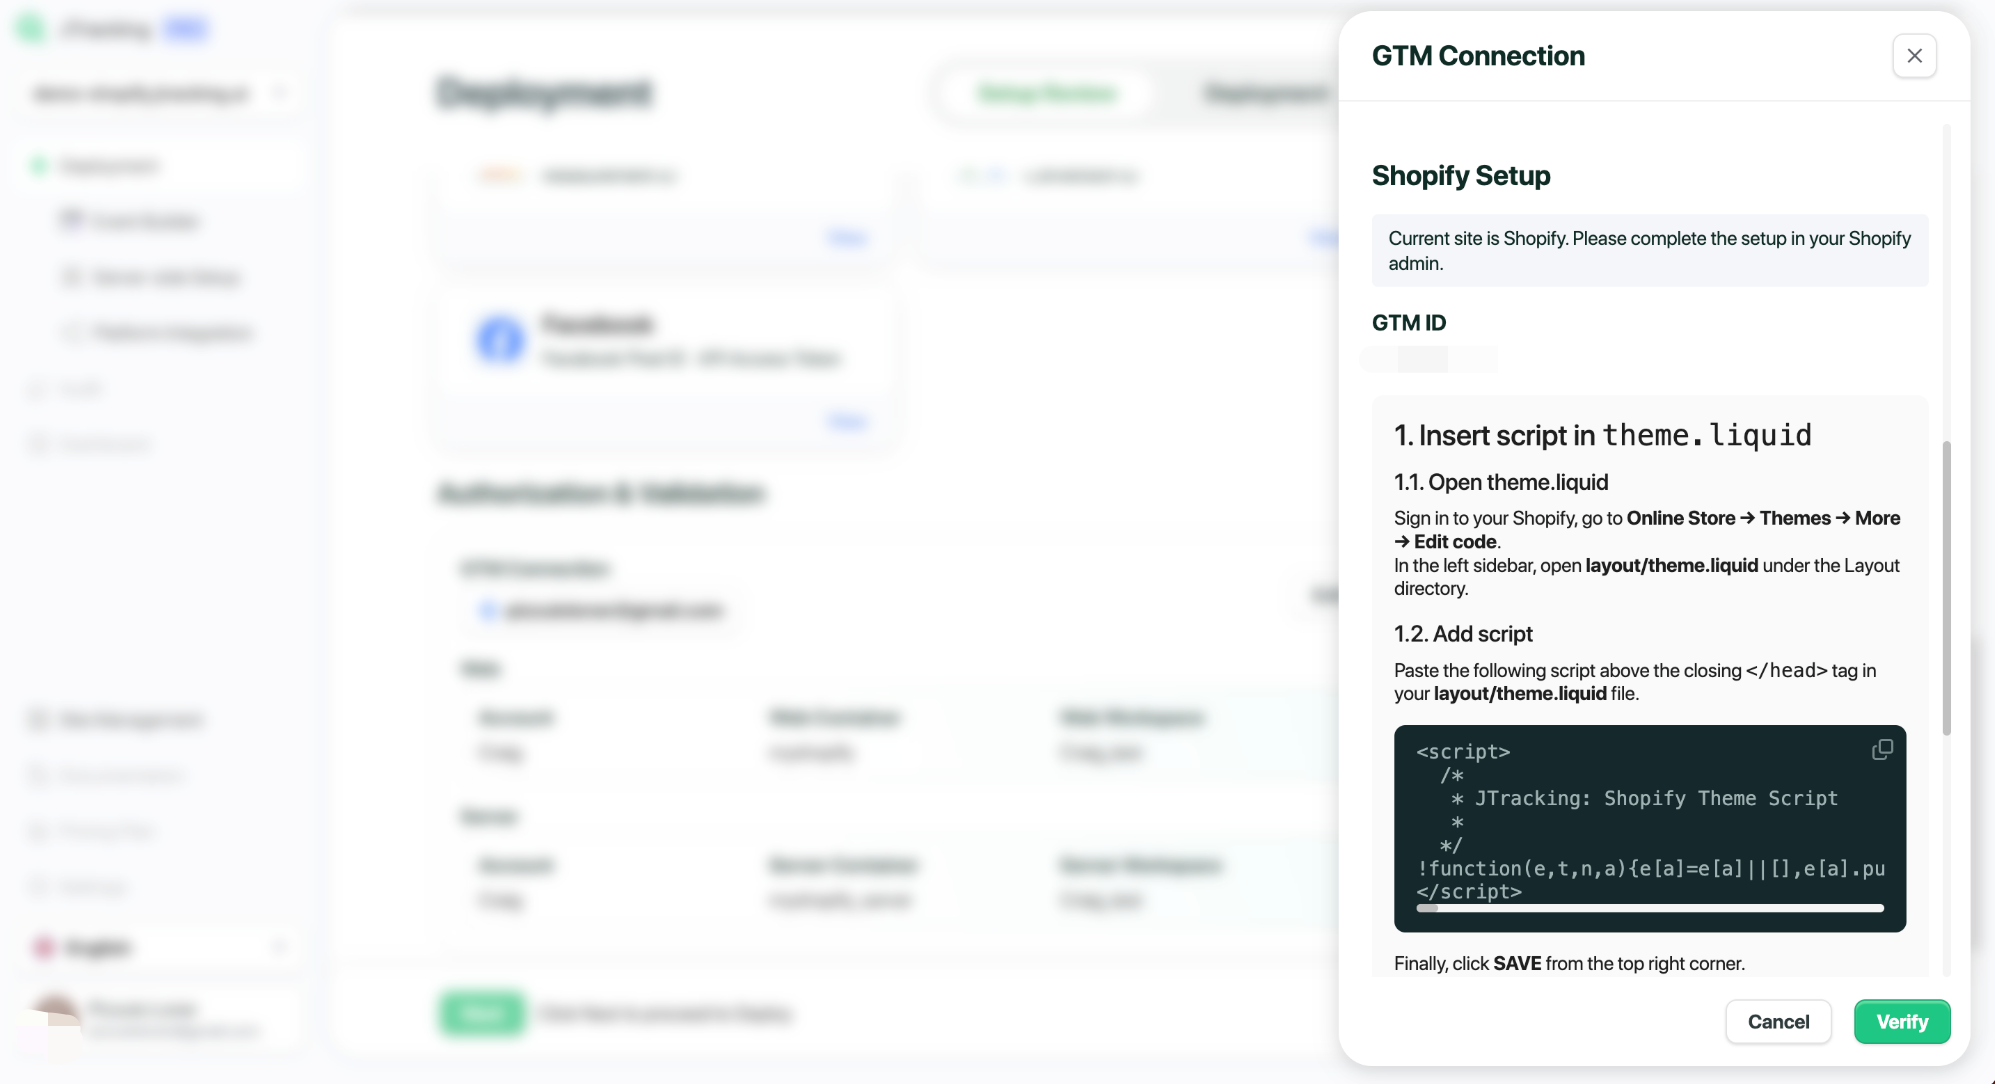
Click Verify to confirm. Once validated, all checklist items will be complete. Proceed with Next.
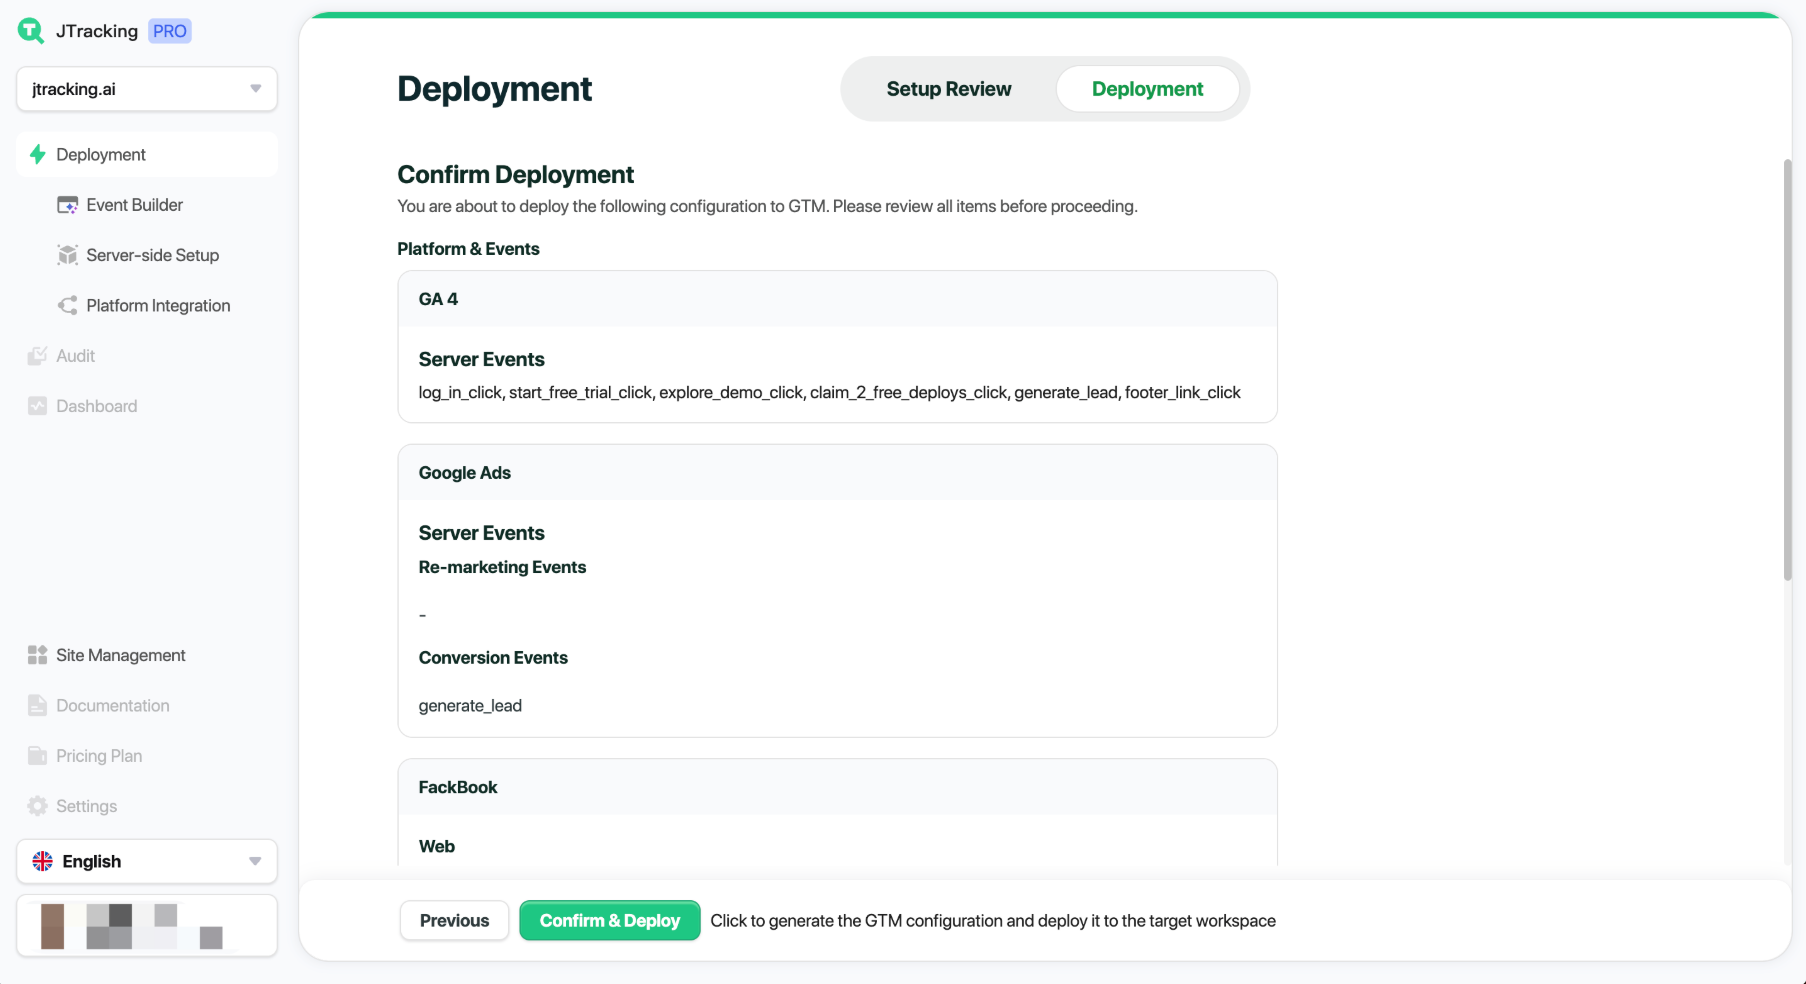
7.4. Confirm & Deploy
Click Next to review final details. If everything looks correct, click Confirm & Deploy.
After completion, click Go to GTM, and check the generated configurations in your GTM Web/Server Workspace.